 Every now and then I’ll find a small little something I can put together in a day or two and do that instead of working on my other projects. Now, I’ve always been interested in sous vide cooking which some people claim is simply the best way to make certain meals. The problem is that it requires what is essentially a tank of water held at a near-constant temperature for hours to days at a time. Doing just that requires a special set of tools that the majority of people don’t have in their kitchens and therefore is a bit too expensive for this guy who it a little apprehensive over spending hundreds on something I wasn’t sure I would enjoy it.
Enter the DIY spirit and a about 0.26 seconds later I had over 300k results on making my own sous vide cooker. I settled with Adafruit’s guide by Bill Earl. Bill did a pretty good job writing up the project on the build guide so this post will just be focusing on what I did and did not like about this whole thing.
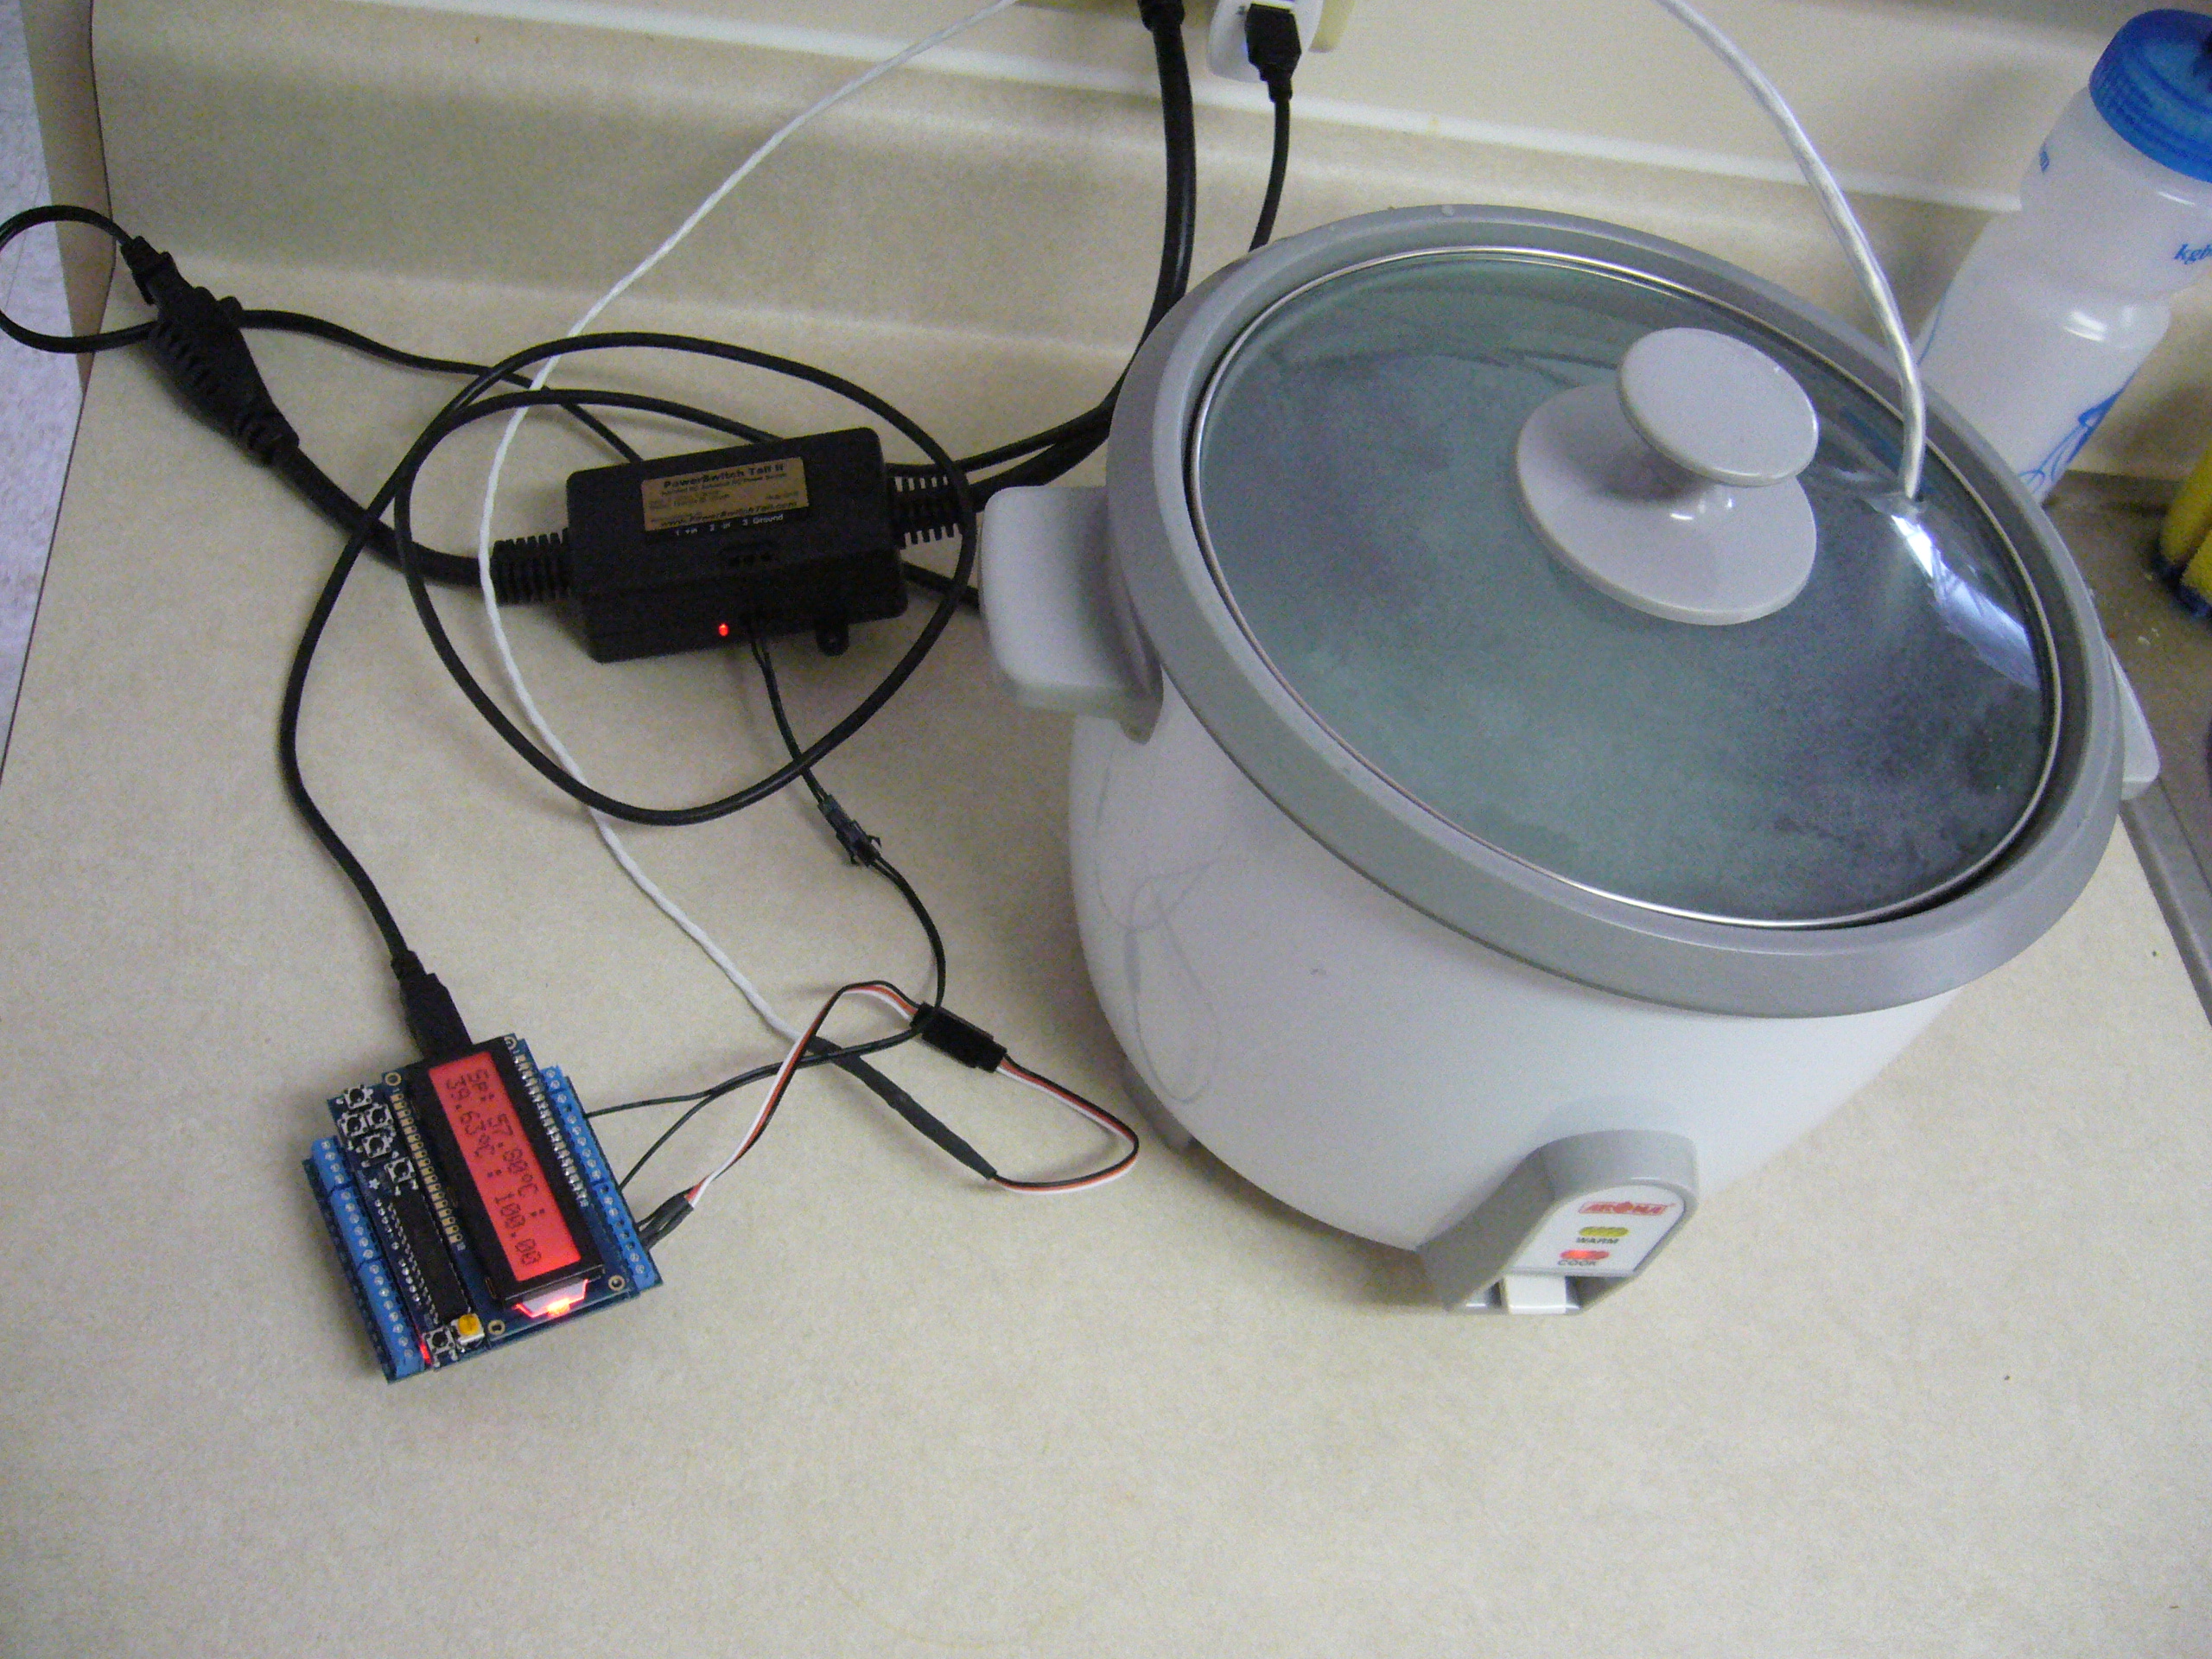
The main reason I chose this specific guide to making a sous vide is that I already had the required rice cooker and that the project called for very little modification of said cooker. Additionally, the parts required to build it were not heavily specialized so that if/when I disassembled this thing, I still had some functional portions to play around with. We call this “risk mitigation” at my job.
Adafruit kindly put together a package deal for this specific project that went for $110 which is a little much but still about half as much as a commercial sous vide unit. However, I immediately had one major problem with the package deal. The controller is based on an Arduino which requires it’s own power supply and the package came with everything to make a sous vide out of a rice cooker except the Arduino power supply. So be it, I had a solution already and I’m not going to make a mountain out of this. I have informed them of the issue and life went on.
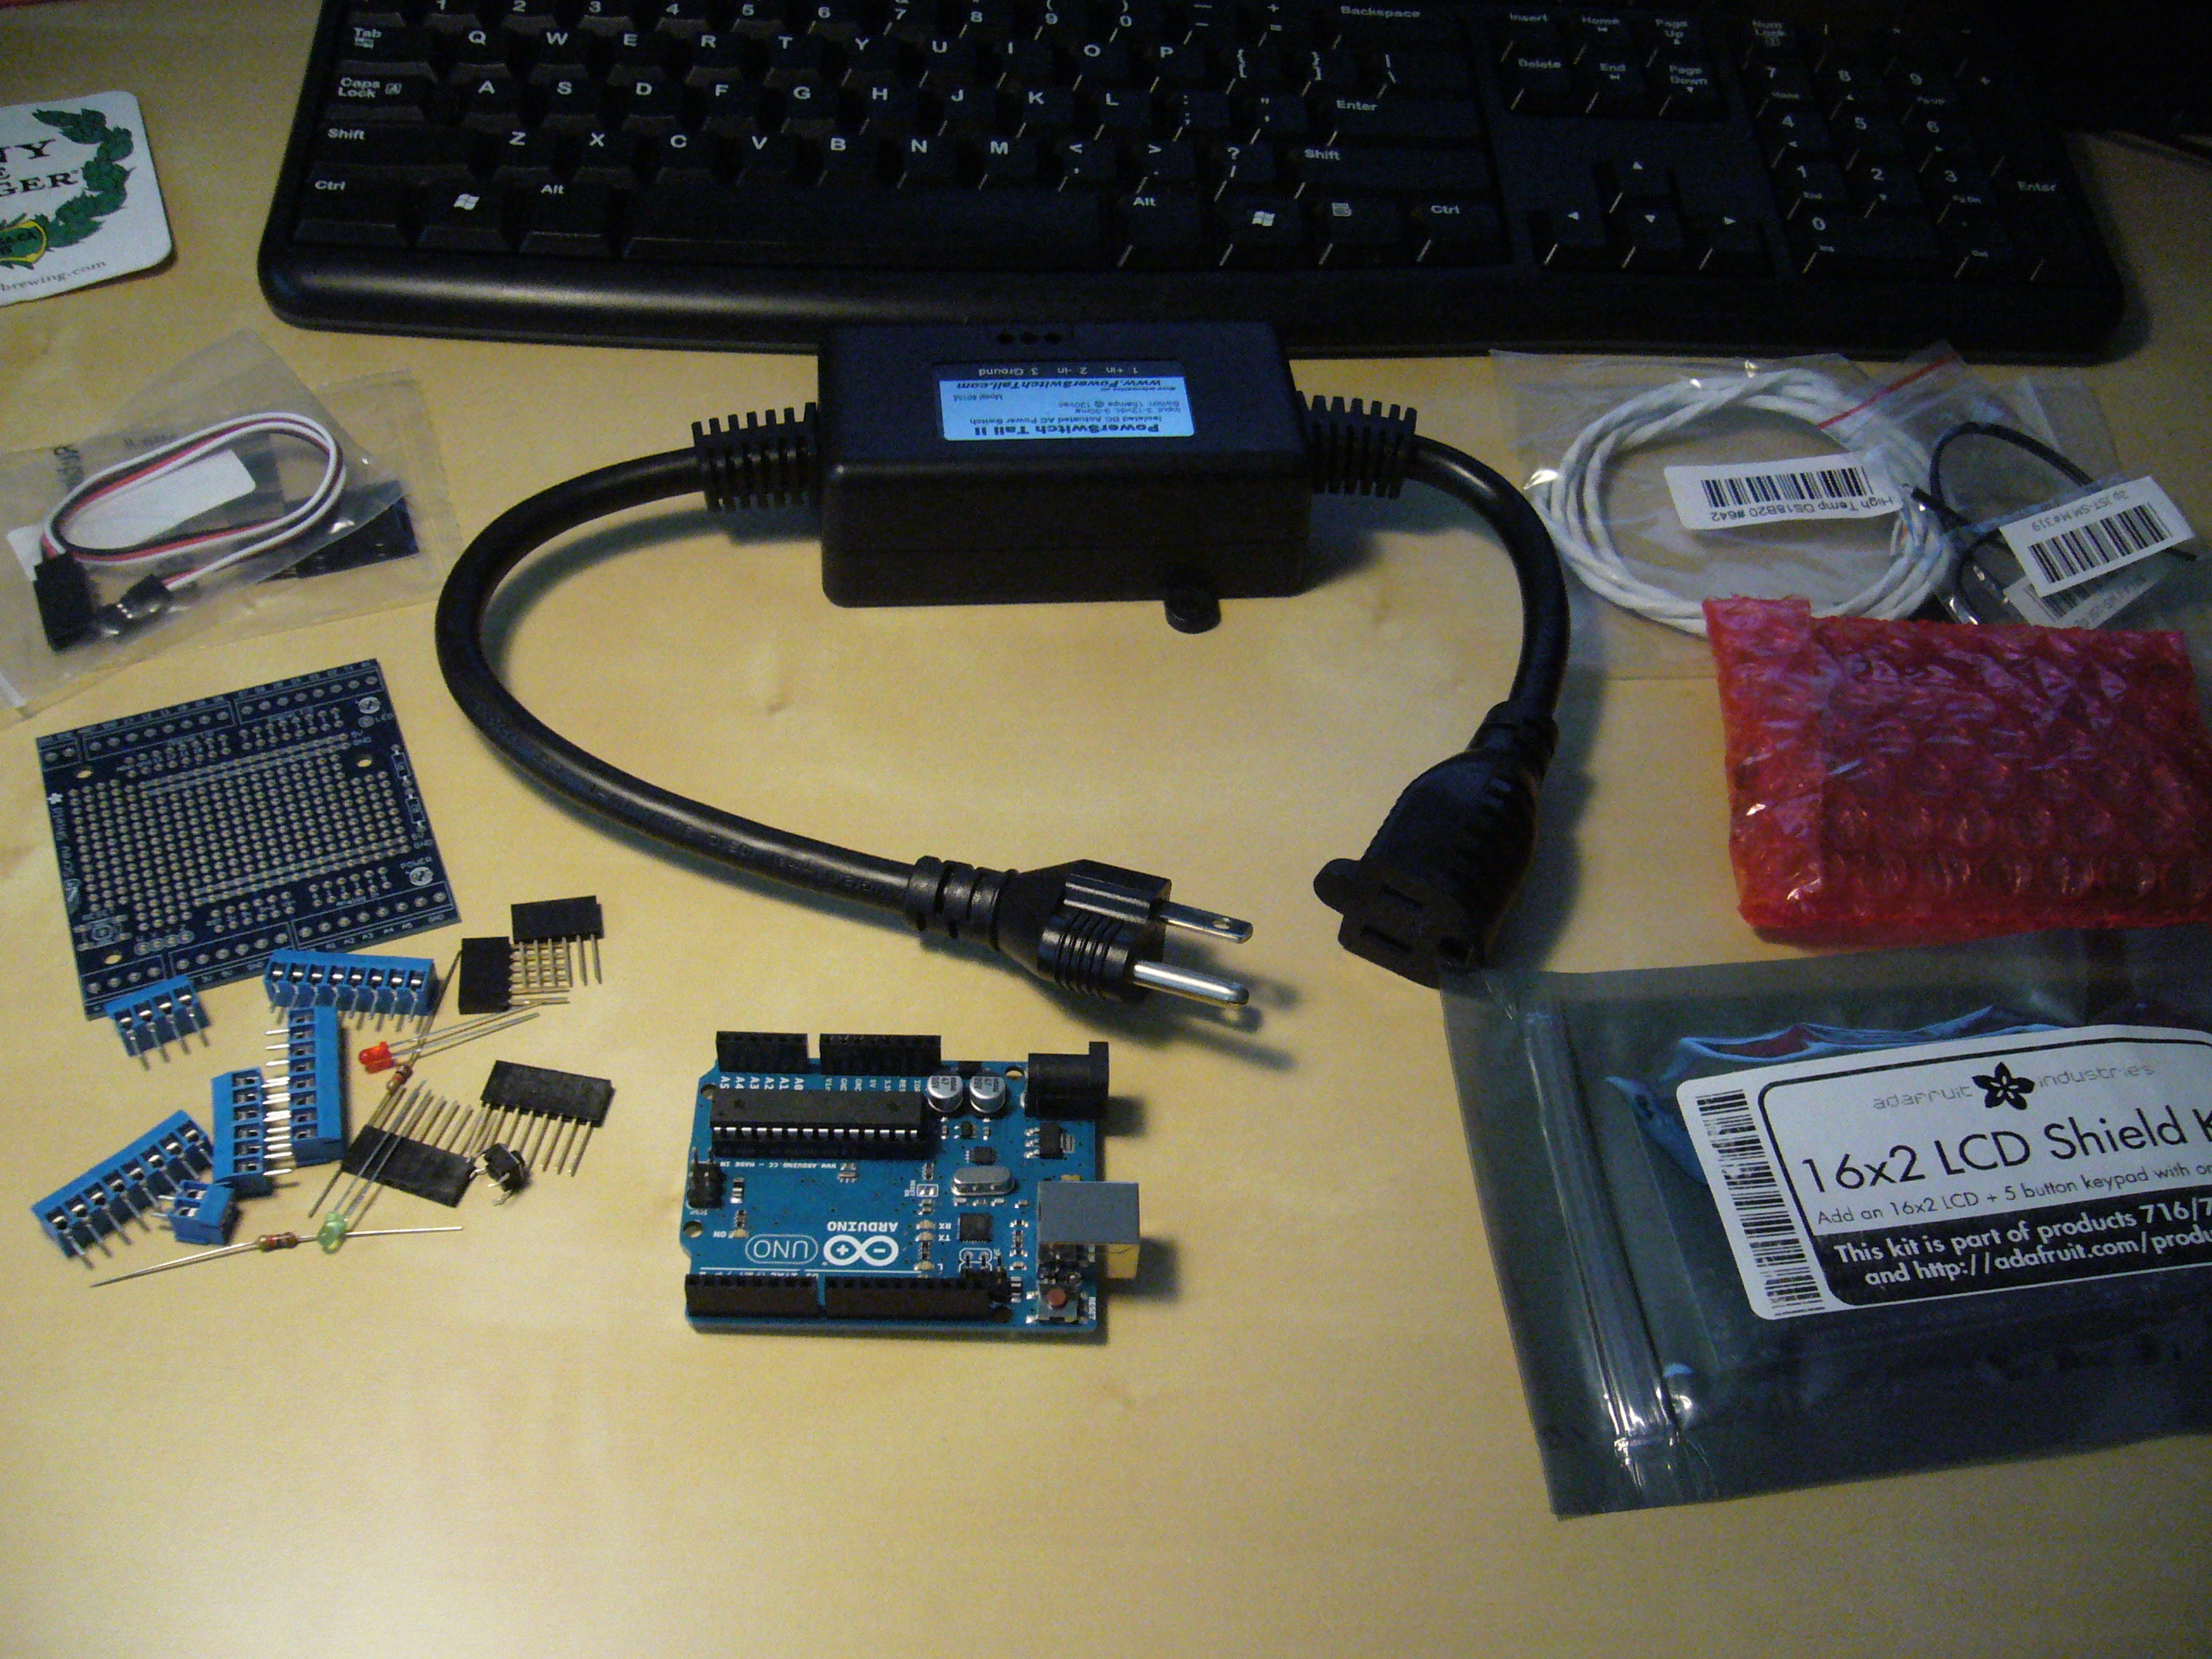
Assembly could not have been easier. I spent an afternoon soldering all the parts to their respective places according to the guide, put the heatshrink over everything (I love heatshrink) and spent some time washing the boards of their residual flux. This cost me a day but it was entirely my prerogative.
Installing and testing the software was also seamless once you made sure you had all the required libraries. It required a little hunting around but I didn’t let that bother me. After that, I hooked everything up and went for a full flight test. The rice cooker already had a steam vent which is the perfect size for the temp sensor. With everything golden, I was ready to auto-tune.
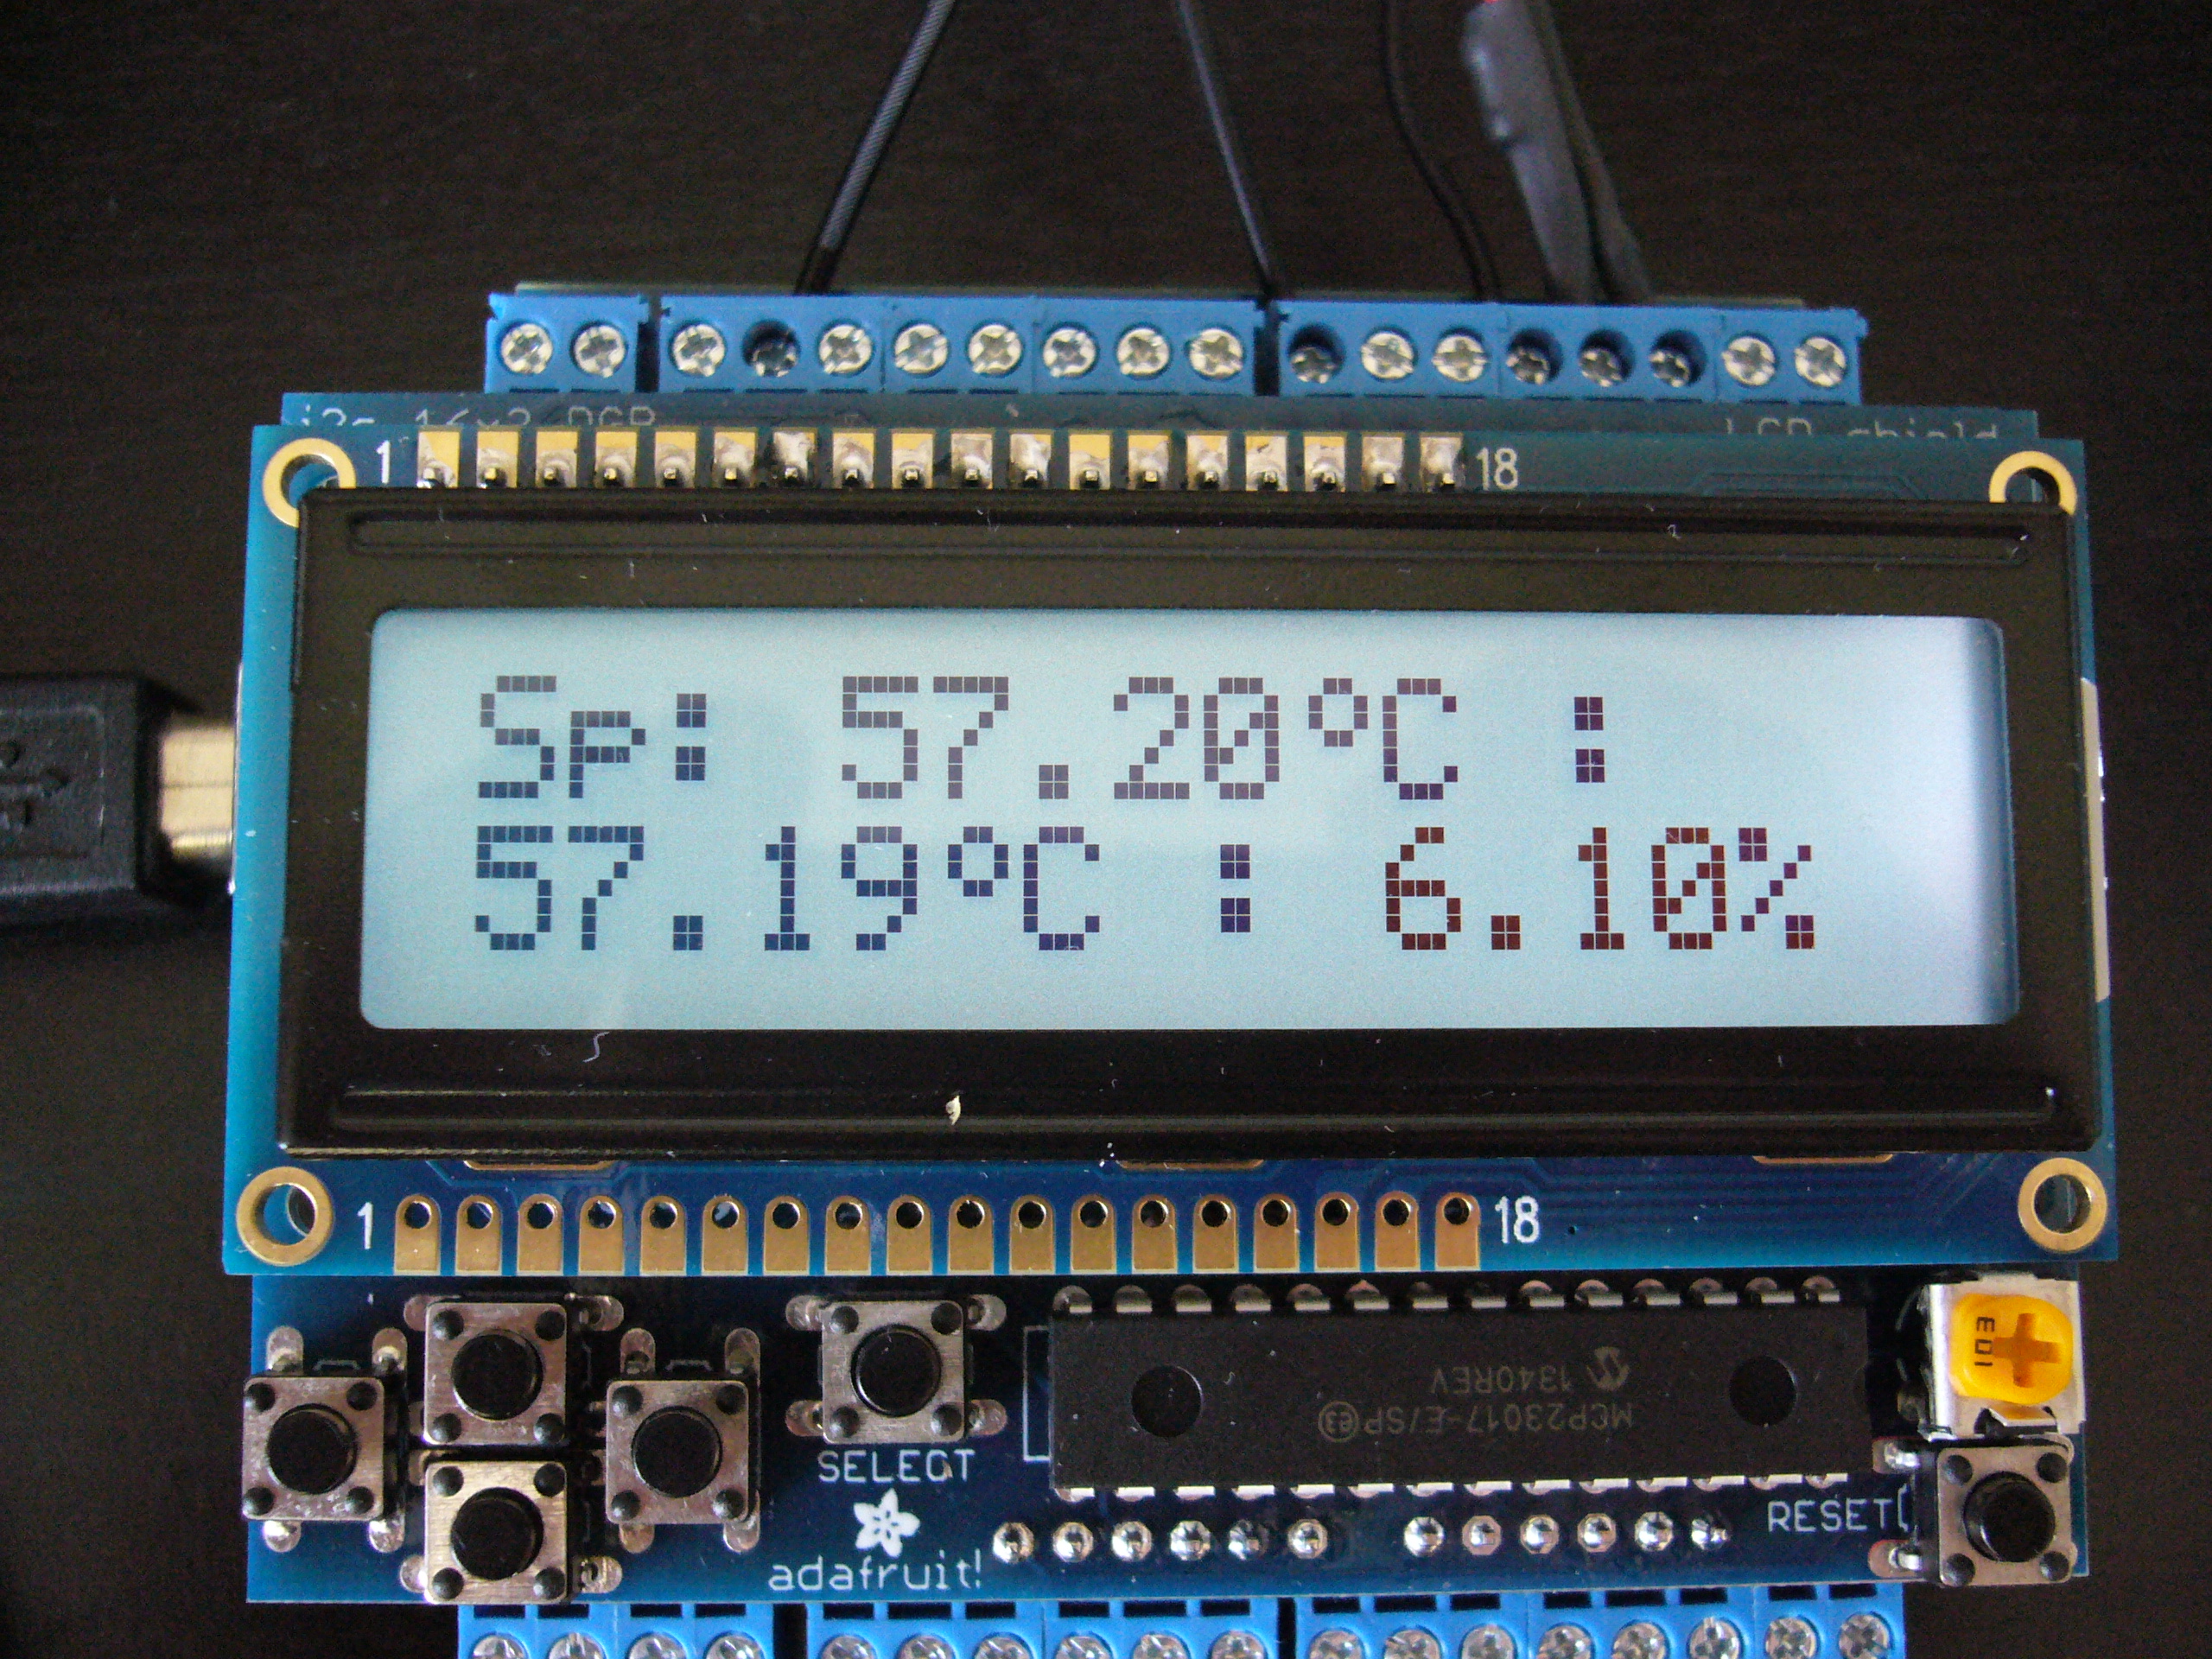
The guide goes into some detail about the control method that the sous vide software uses and there’s plenty of literature out there about the nuances of a PID controller. But the software helpfully included an auto-tune function that could run and set the parameters for you. So be it that it wasn’t perfect but I trusted it to at least get within a few points of a perfect tune for me. So I let the cooker heat up and it had to stabilize before starting auto-tune. That took about an hour. Auto-tuning took another hour. Then I decided it was time to cook.
My first sous vide cooked item was a poached egg. And it was delicious. An egg that I never could have cooked in any other way. My second attempt at cooking was burgers and they were delightful if tarnished a little by the quality of the beef used. So far, I am delighted in cooking this way and shall continue to do so.
However, I have a few qualms with this DIY method. Short list below.
- Safety: Not going to lie, this is a huge one for me. The ‘final’ product is a jumble of wires on my counter with hardly a fuse in between any of them. I’m all for rough-looking projects but this borders on the suicidal with 120VAC running alongside a big thing of water that you have to pull things out of, both for you and your electronics.
- Looks: Along the same lines, this jumble of wires just doesn’t look so good. All it would take is more cursory glance at it to wonder if I’m not making meth in my kitchen. But this is a minor issue, I can deal with weird looks by serving excellent food.
- Circulation: The project guide calls for using a rice cooker or slow cooker to make this sous vide. The major difference between those and a commercial sous vide cooker is the lack of circulation. The rice cooker heats from the bottom and relies on convection currents. There are bound to be hot spots that could lead to overcooking. A commercial unit would have a pump to keep the water moving.
- Capacity: This is largely my fault for insisting on using one of my old rice cookers. It could be alleviated with a larger rice cooker but I would hit my fifth and largest issue with the DIY method:
- COST: I can fix all of the above problems with a fuse, a case, a pump and a larger rice cooker respectively. But combined costs including my time in putting it together would breach the $250 limit. To me, that is simply unacceptable.
The $250 limit is because their exist safe, good looking, high capacity and circulating sous vide cookers out there for $199. The Anova is the one in particular I am looking at. Couple that with a good quality 8-12qt stock pot for $50 and you have yourself, what looks to be on paper, a perfect sous vide machine. I already have the pot and now that I have a taste for this cooking, I might do just that very soon.
In the end, I am happy I built this system. I spent not too much money, got to build something that works, cemented my interest in sous vide and still have a bunch of parts to play with after the fact. I’m calling this one a minor success.