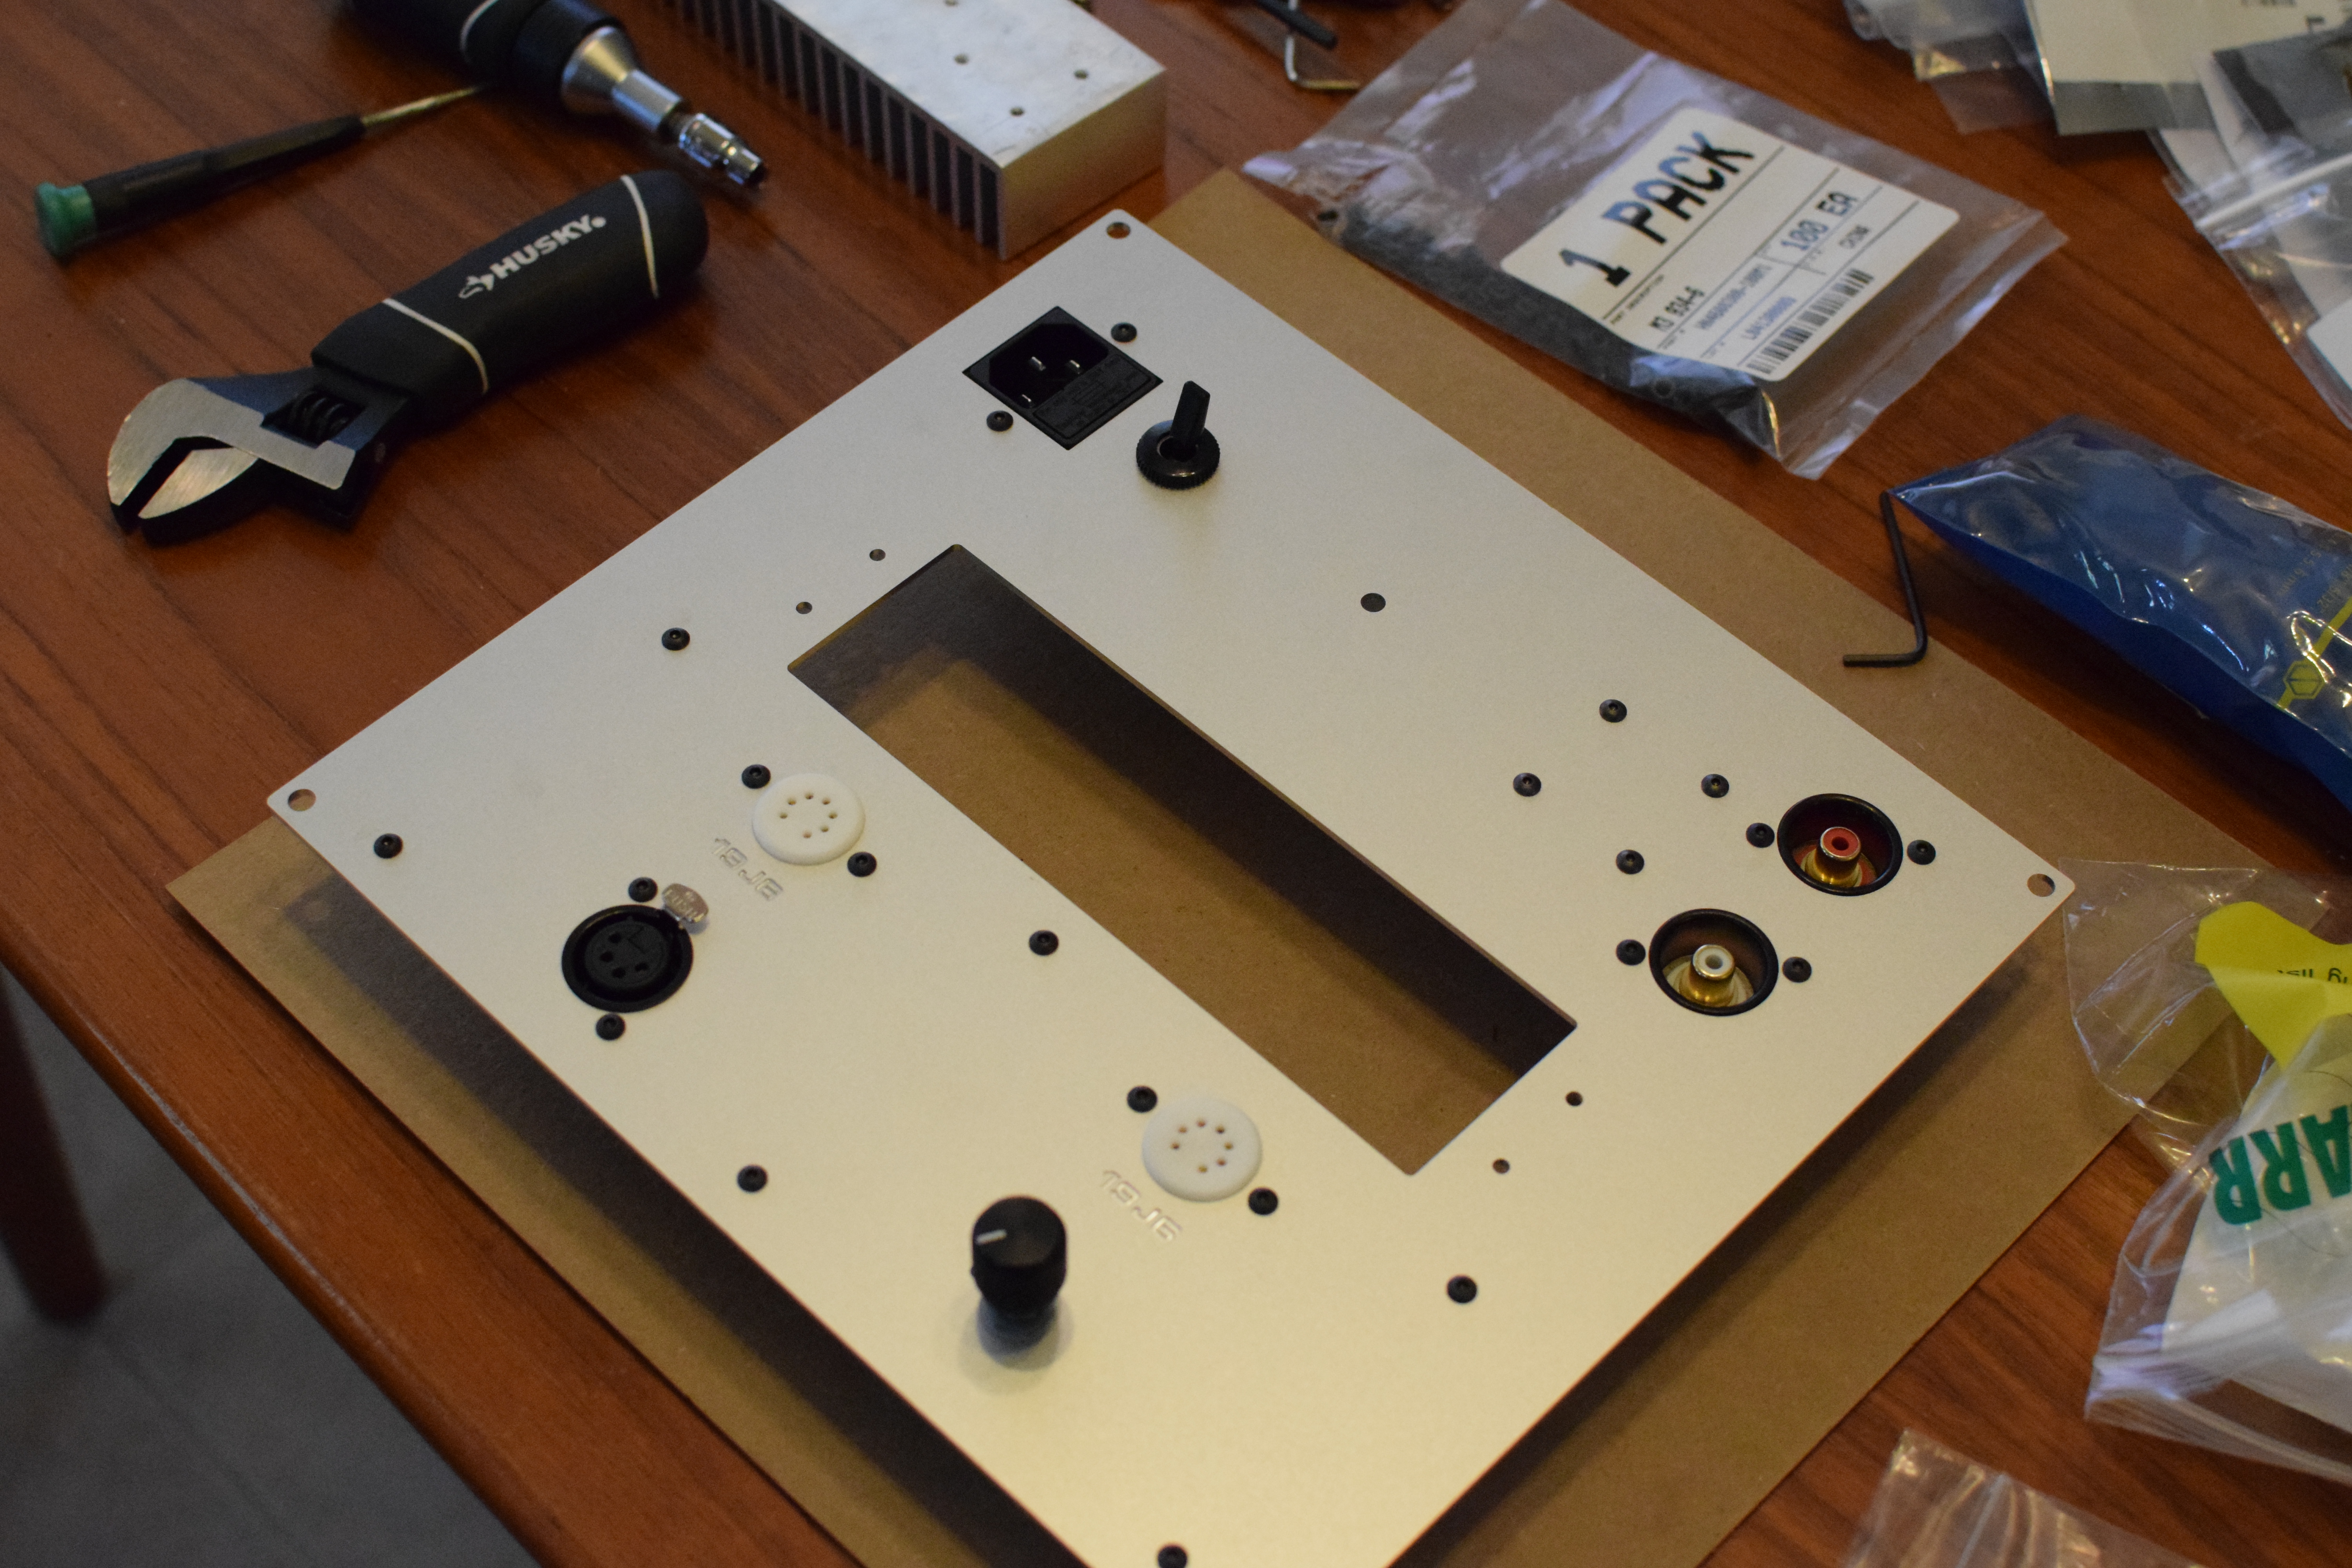
 Last time, I left off at having just the top panel in the mail. This time, I have finished final construction on the SSMH and it’s all functional. Once I had the top panel in-hand, I did a dry test fit of everything. The heatsink fit perfectly, the tube sockets fit perfectly, the turret boards not so much. I specified the mounting holes a tad too close to the front panel and the edges of turret boards overhung more than I had accounted for. It seems like with every project, there is always at least one oversight that catches me near the end. I have gotten better, in this case all I had to do was file down the board edges a millimeter or two to fit. Easy-peasy.
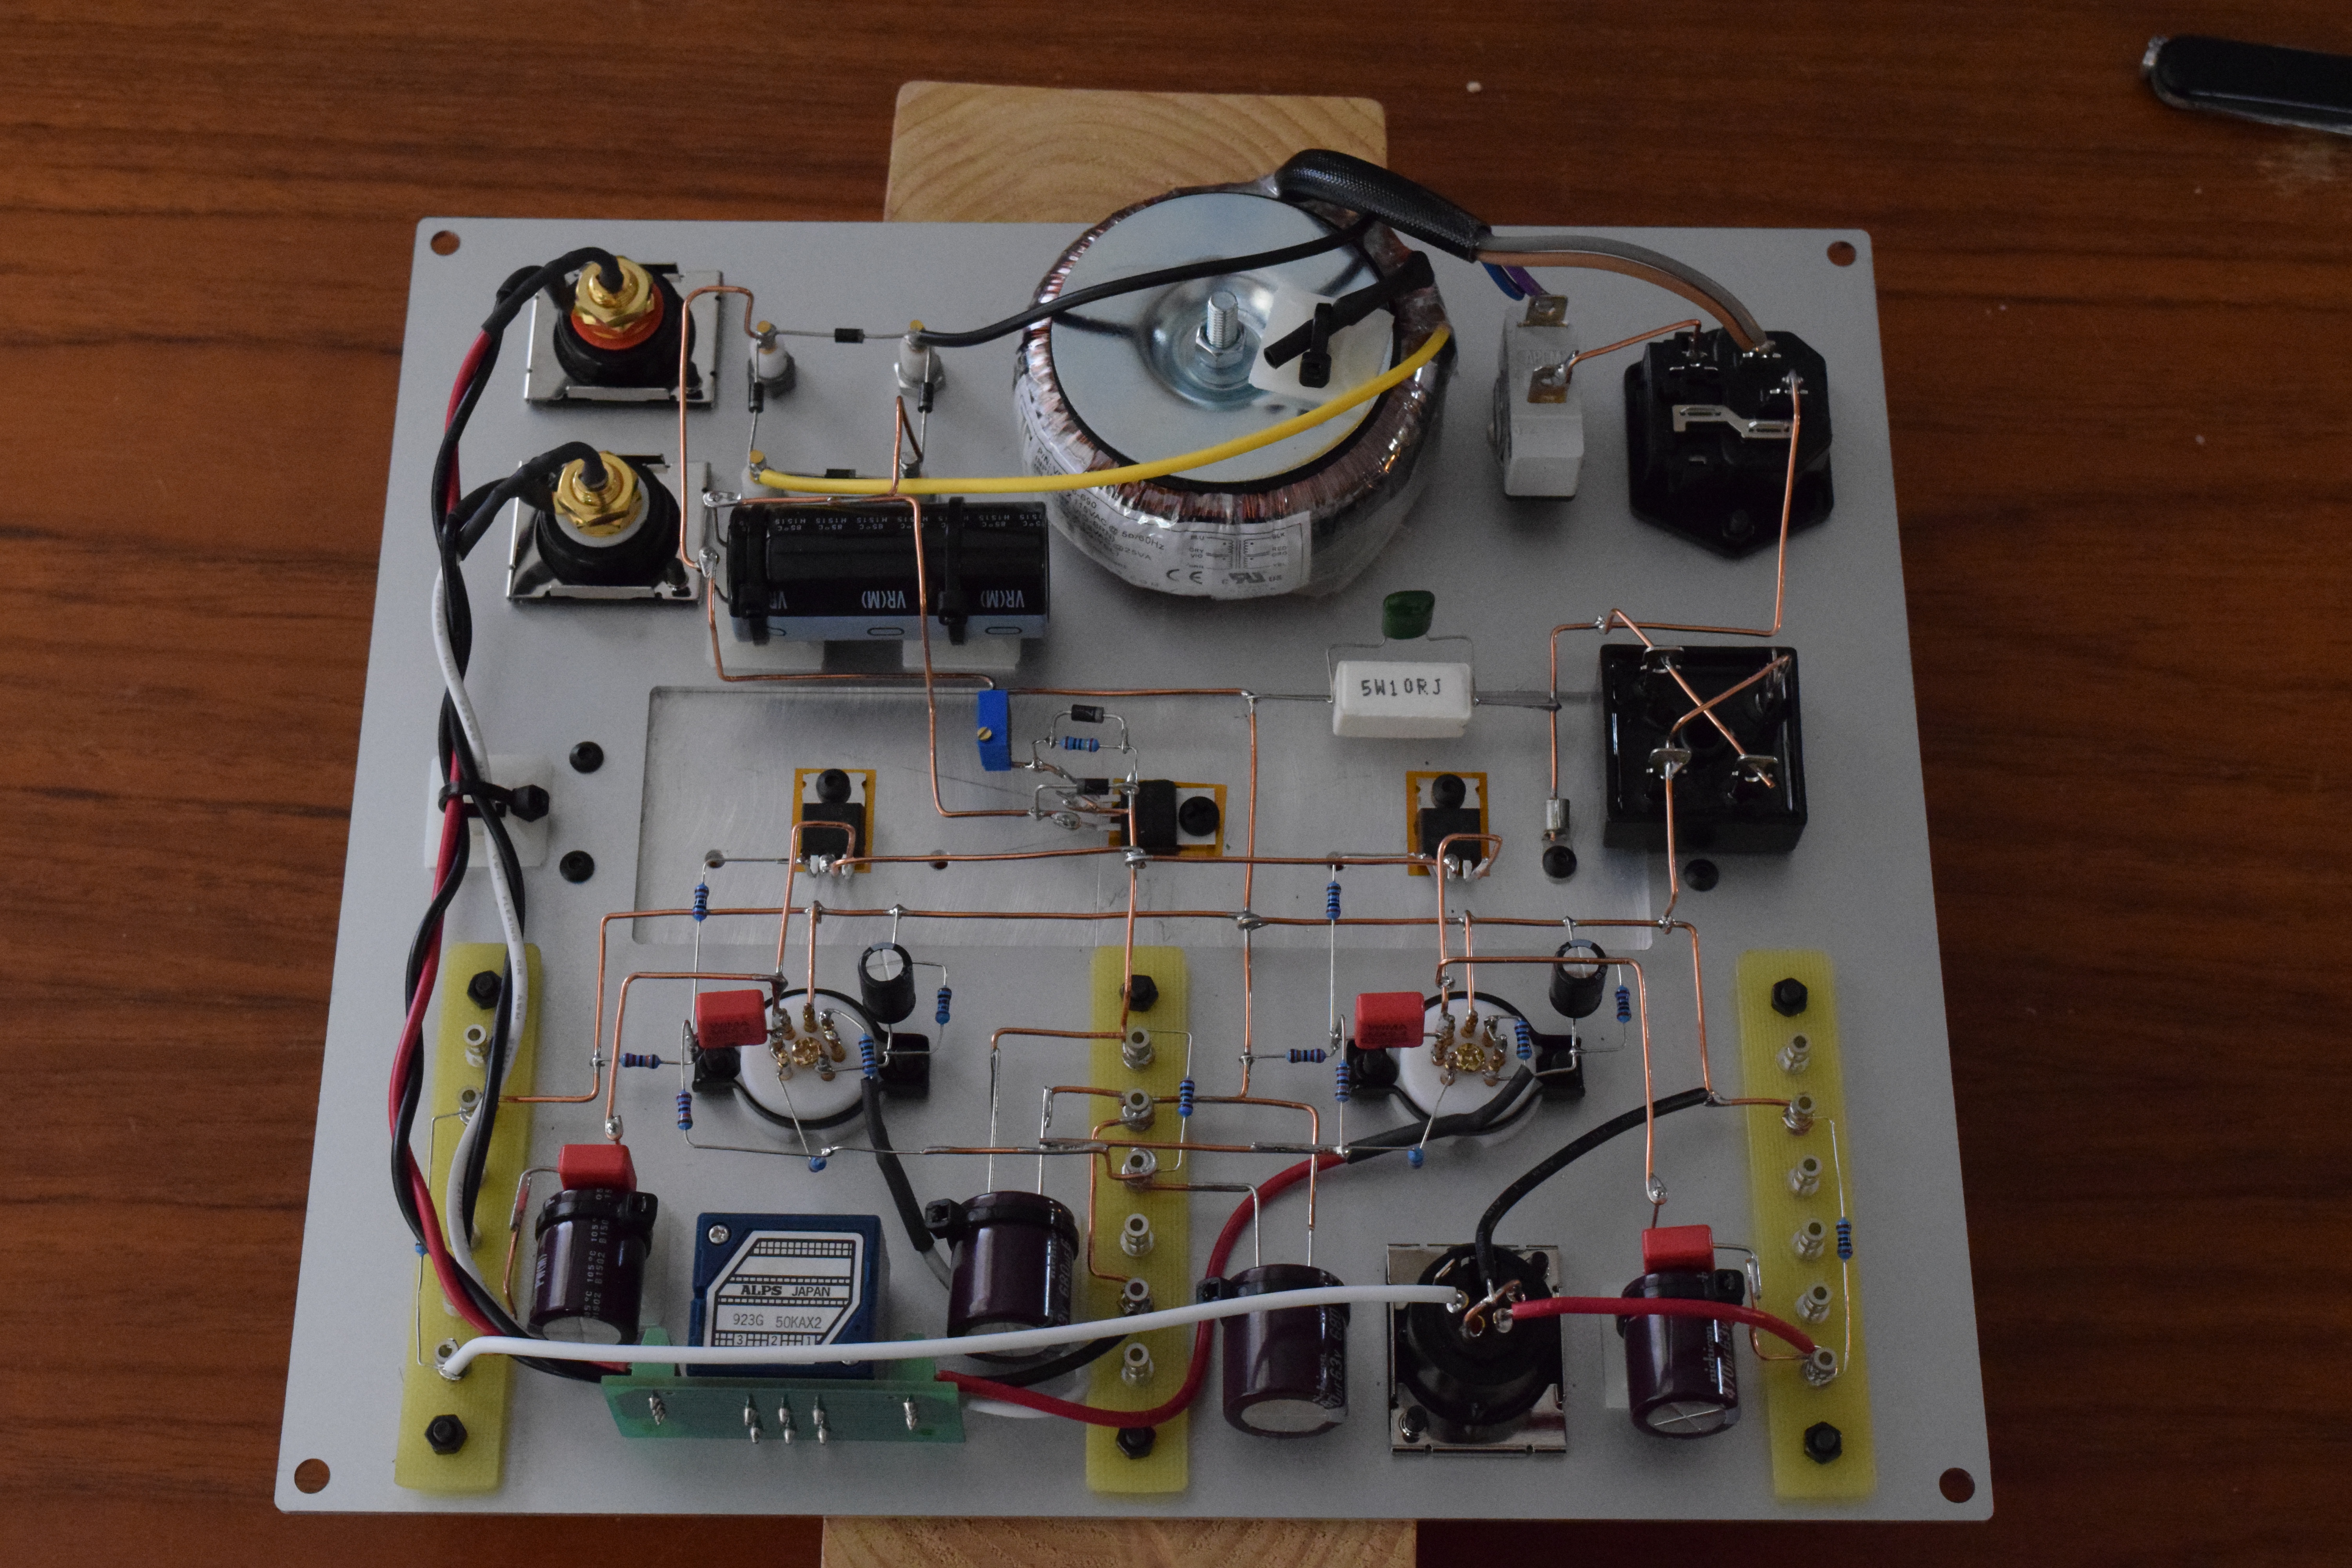
Once all that could by physically mounted was, the next step was just to solder everything together. You’ll see that I went this time for solid copper wire, typically bent with right angles for all the wiring. Aesthetically pleasing but very time consuming. My nightly goal was one or two connections at a time. Taking the time to draw everything out and cross check all connections before heating up the iron really paid off. I think I only had one miss-solder.
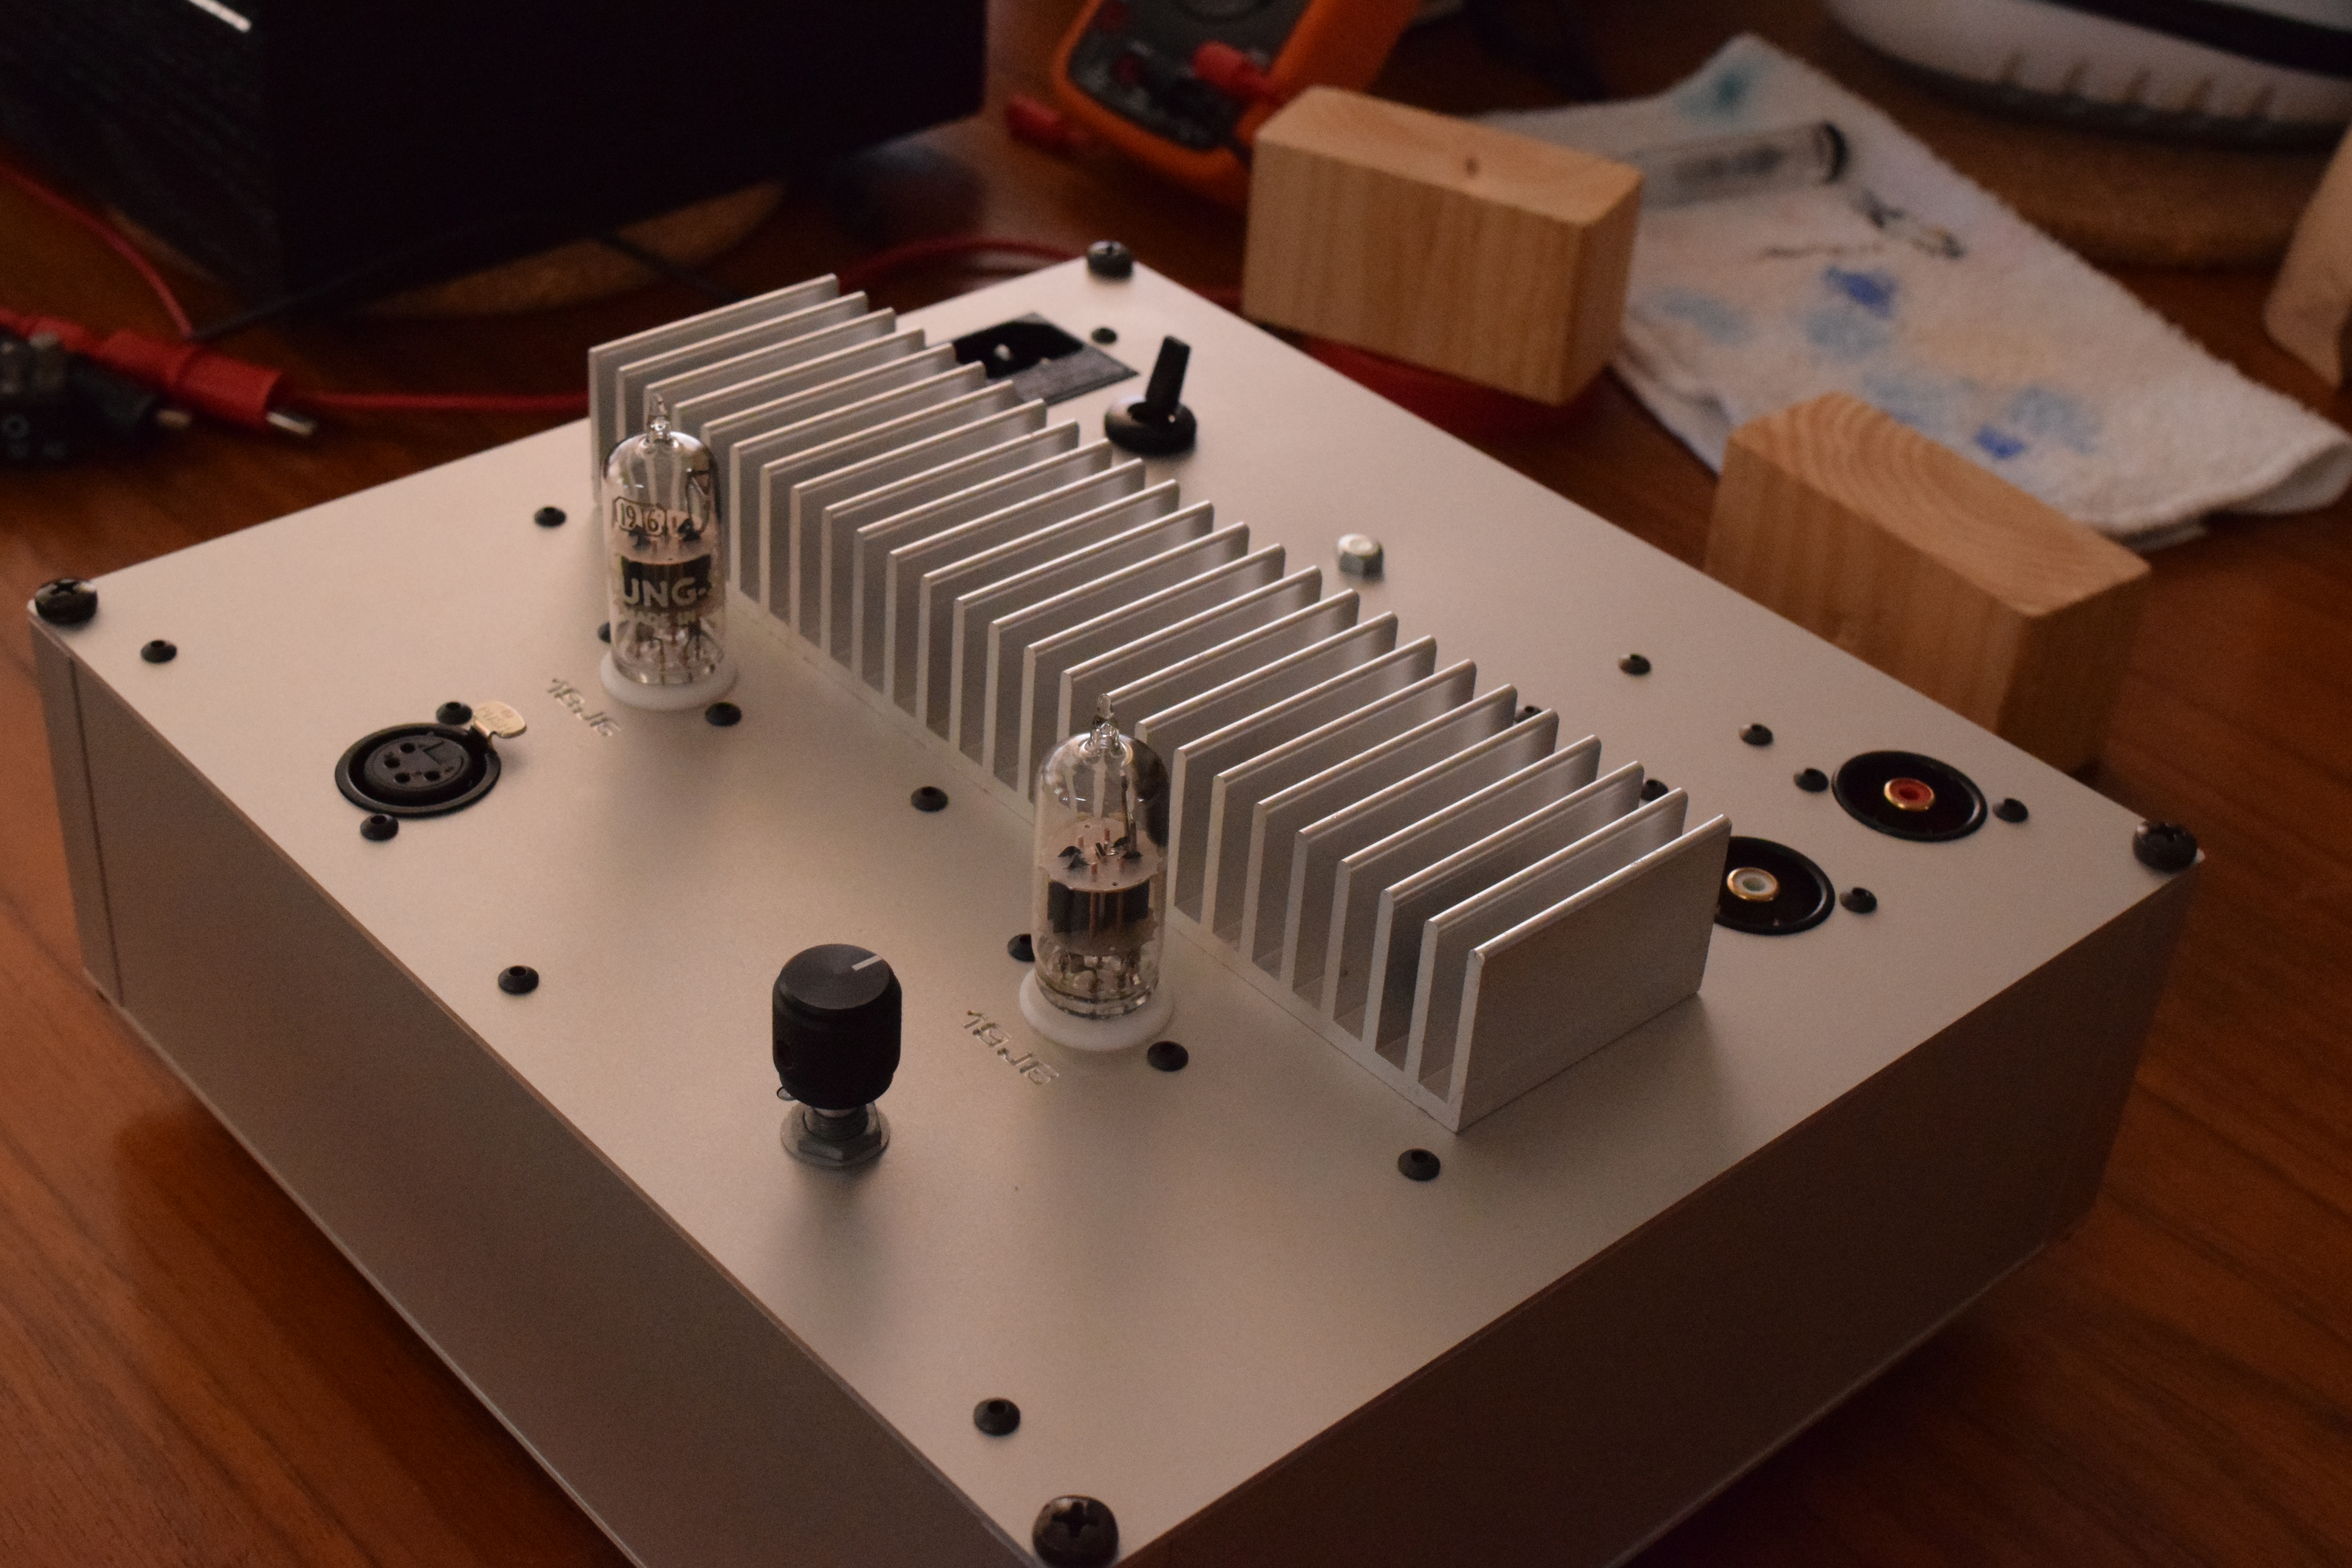
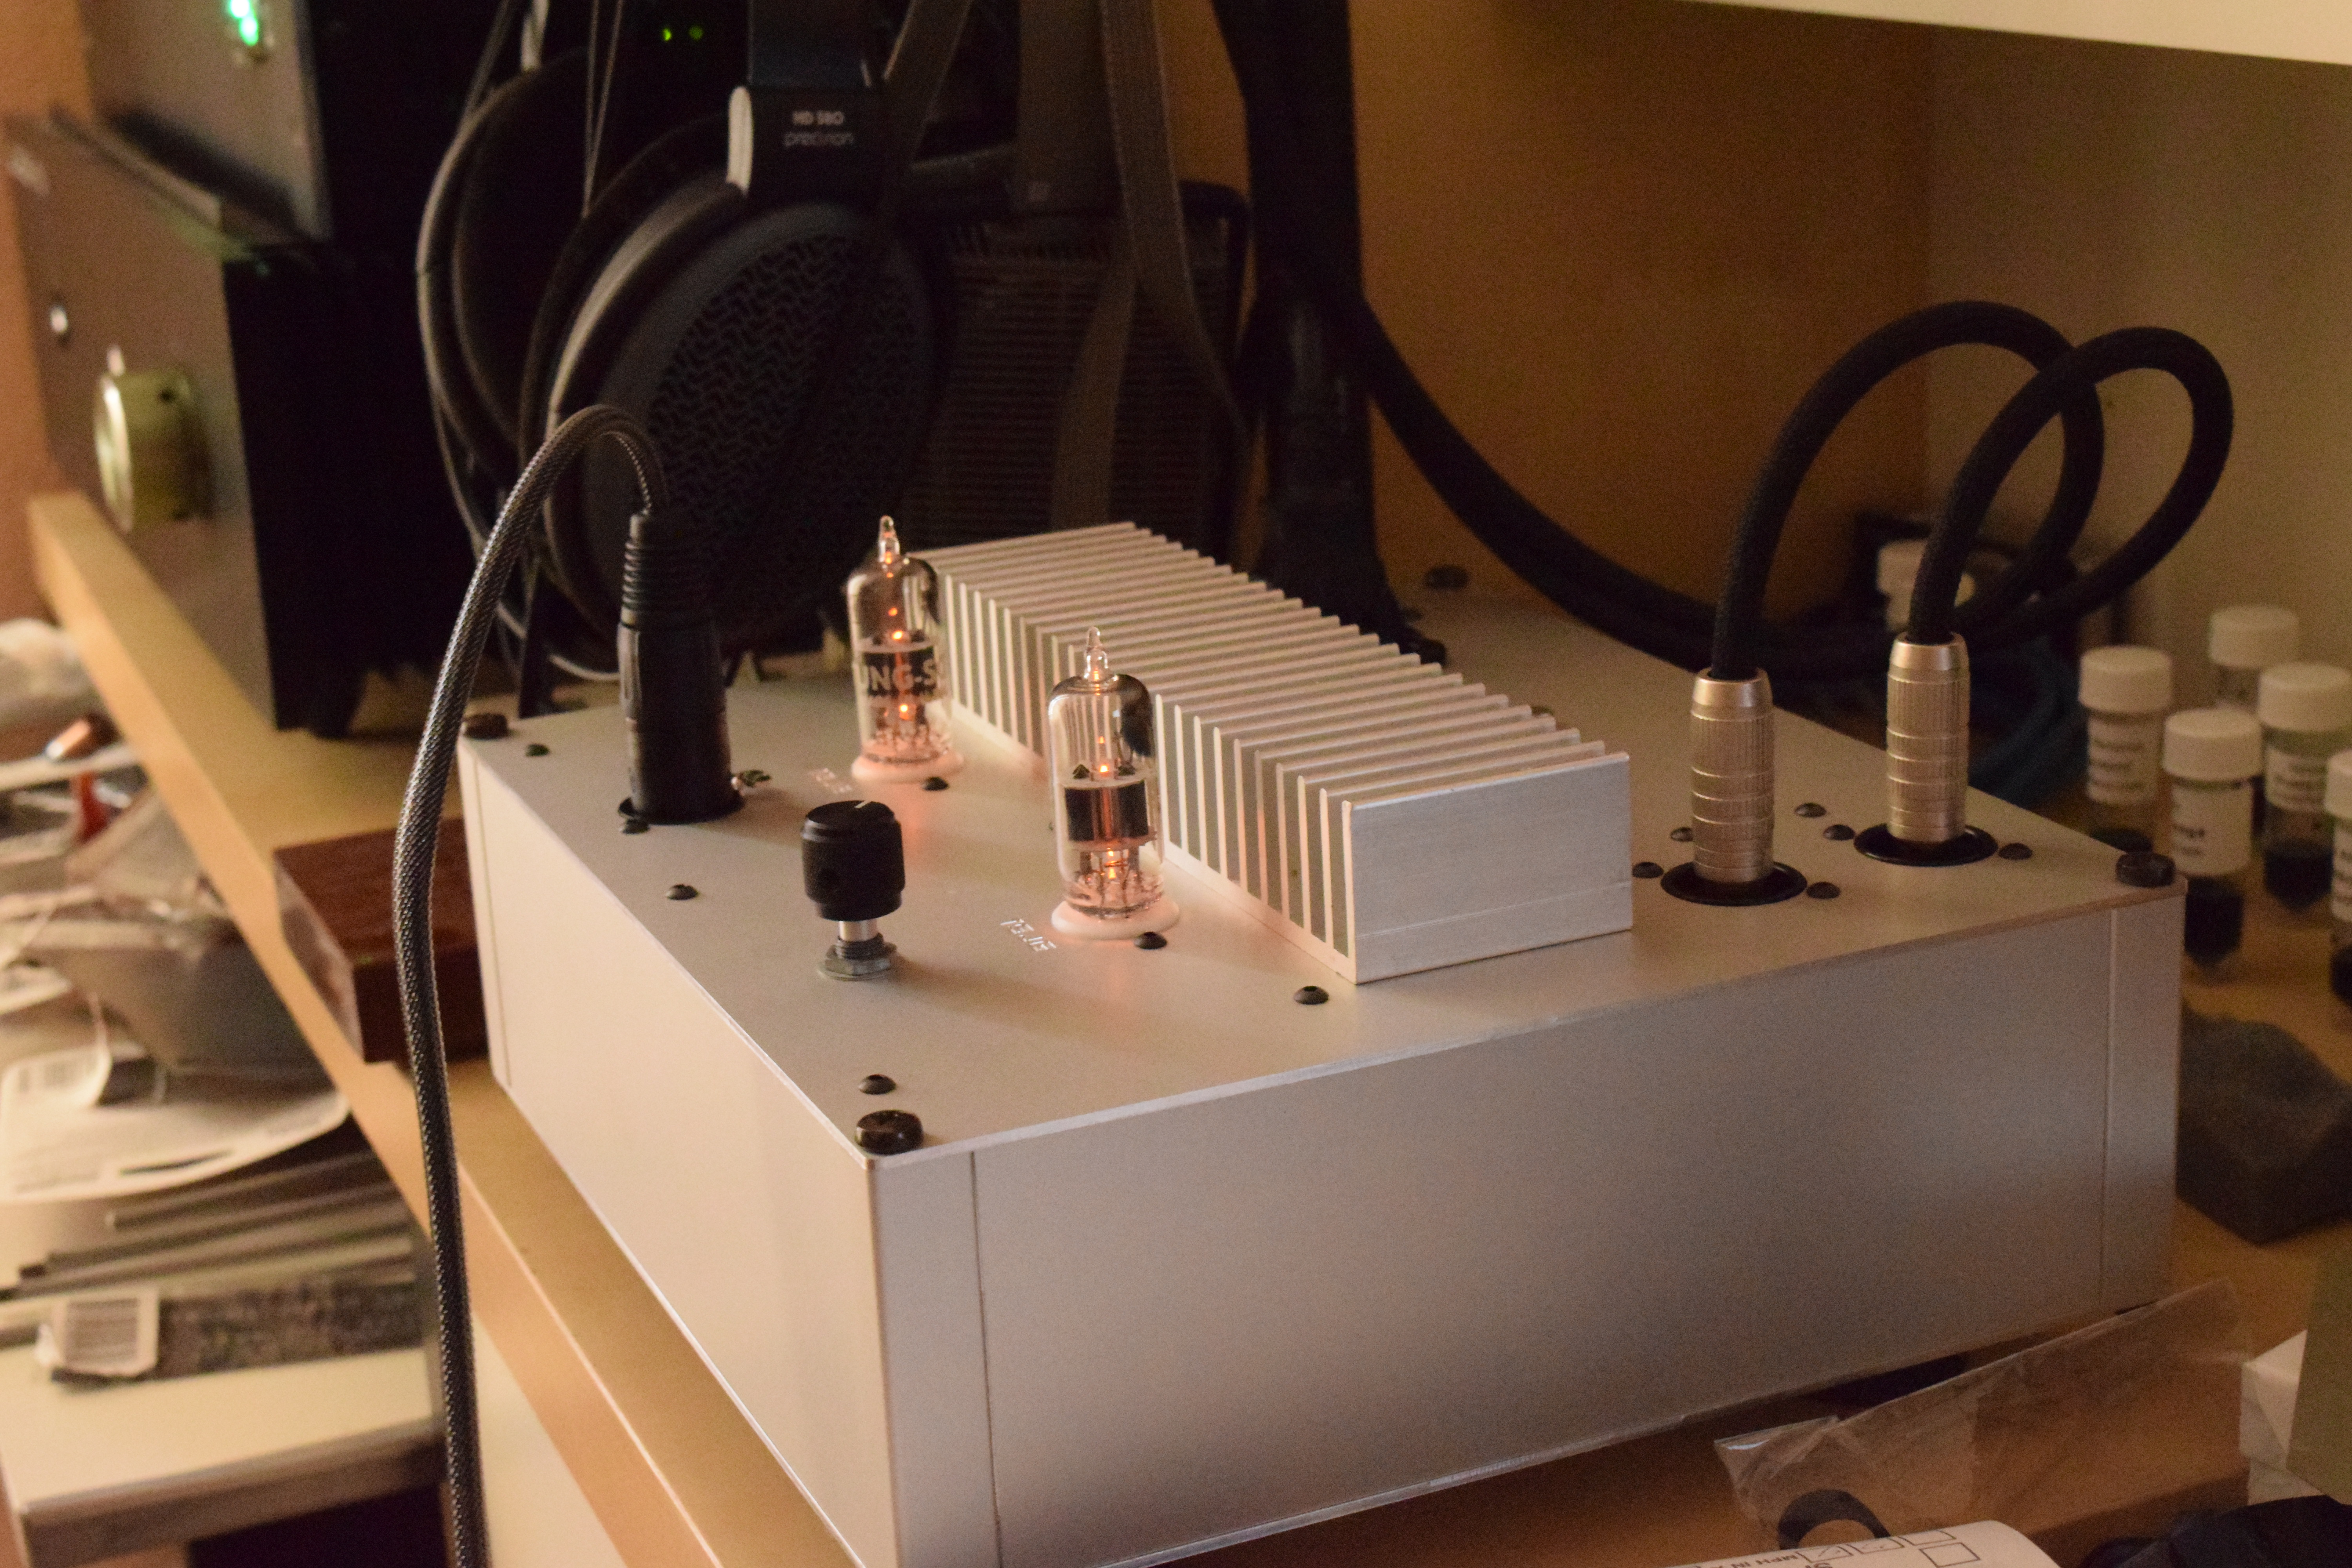
All soldered up, the amp looked very pretty, even to my overly-critical eyes. All that was left to do was to plug in a power cable, stand back, and throw the switch. No sparks, no explosions, all worked extremely well from the get go. I double checked the power supply voltage then plugged in a source and a set of headphones. Beautiful, beautiful music. Except for a nasty 60Hz hum.
I should have expected a ground loop. The amp ground was completely separated from the earth ground. Pulling out the meter, there was nearly 5V of 60Hz noise between the two. I implemented the extremely simple ground loop breaker circuit seen here. To paraphrase, the resistor allows an outlet for the noise while dropping the current to undetectable levels. The capacitor serves as an RF filter for any cell phone or radio signals present. And the bridge diode allows an outlet for any major fault between the neutral and earth lines to blow a fuse in my house before it blows up the amp. One is easily correctable with minor damage, the other would be catastrophic. Easy enough fix and once done, the music was just as sweet with dead silence in between songs. All that was left was an actual case to prevent fingers from getting in all the wiring.
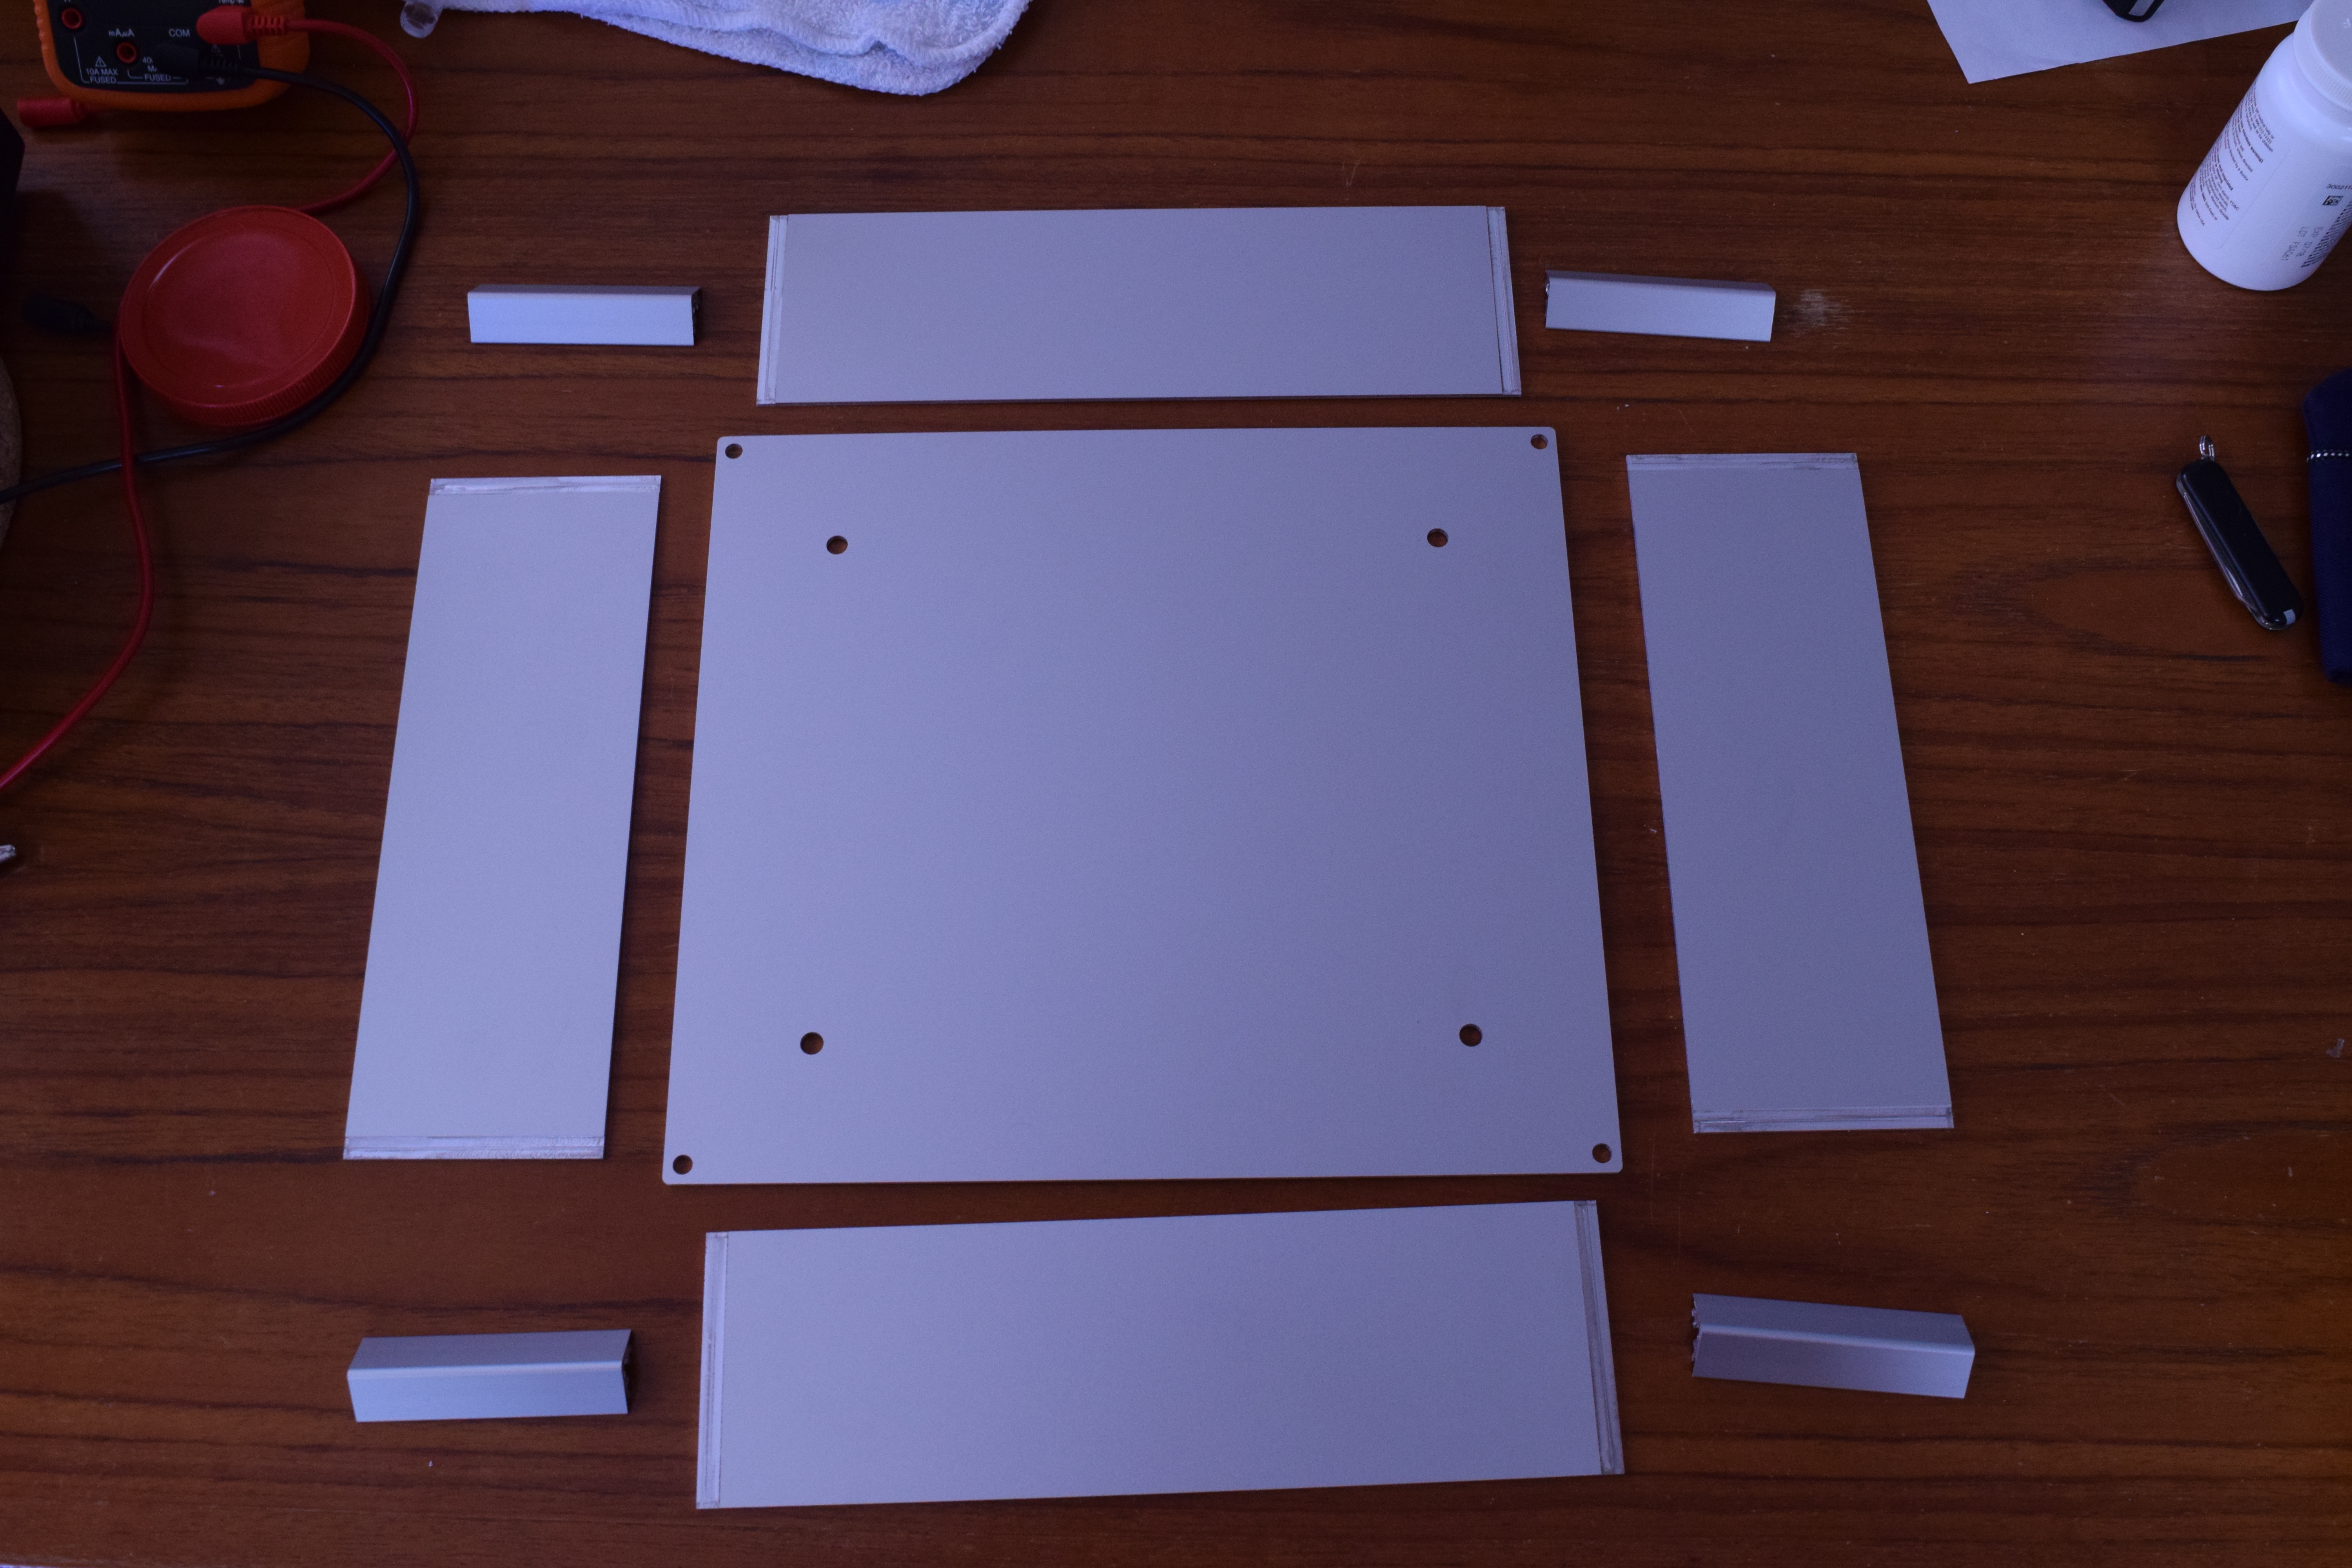
The Front Panel Express enclosure service took some figuring out. All the dimensions and cutouts rapidly got confusing until I just made an Excel spreadsheet to figure it all. I had some bolt-on case feet on hand from a previous project. I measured the bolt depth on those, the wiring height on the top panel and allowed some airspace for isolation. That gave me the height of the enclosure and from there it was ordering and patiently waiting for the case parts to show up.
This has to be the third or fourth time I have used Front Panel Express and they never fail to deliver as long as you measure everything correctly. I have screwed up the measurements before and gotten an extremely nice panel made by them in the totally wrong dimensions… Regardless, this enclosure went together extremely easy. Looks classy even if a lot of the parts I used were surplus from previous projects.
Overall, I couldn’t be happier with my first tube amp project. I tried out a lot of new techniques and still got something that looks good and more importantly, sounds good. I plan to use a lot of the lessons learned here to build the next tube amp which is planned to be all sorts of crazy, 100% tube, transformer-coupled, menacing-looks madness. Until next time!