 Last time, I had the circuit board made, the parts on hand, and I was just waiting to find a few solid hours to sit down and put everything together. All it came down to was soldering everything together, pulling out the old board, and popping in the new one. One Sunday I did just that and everything went as planned.
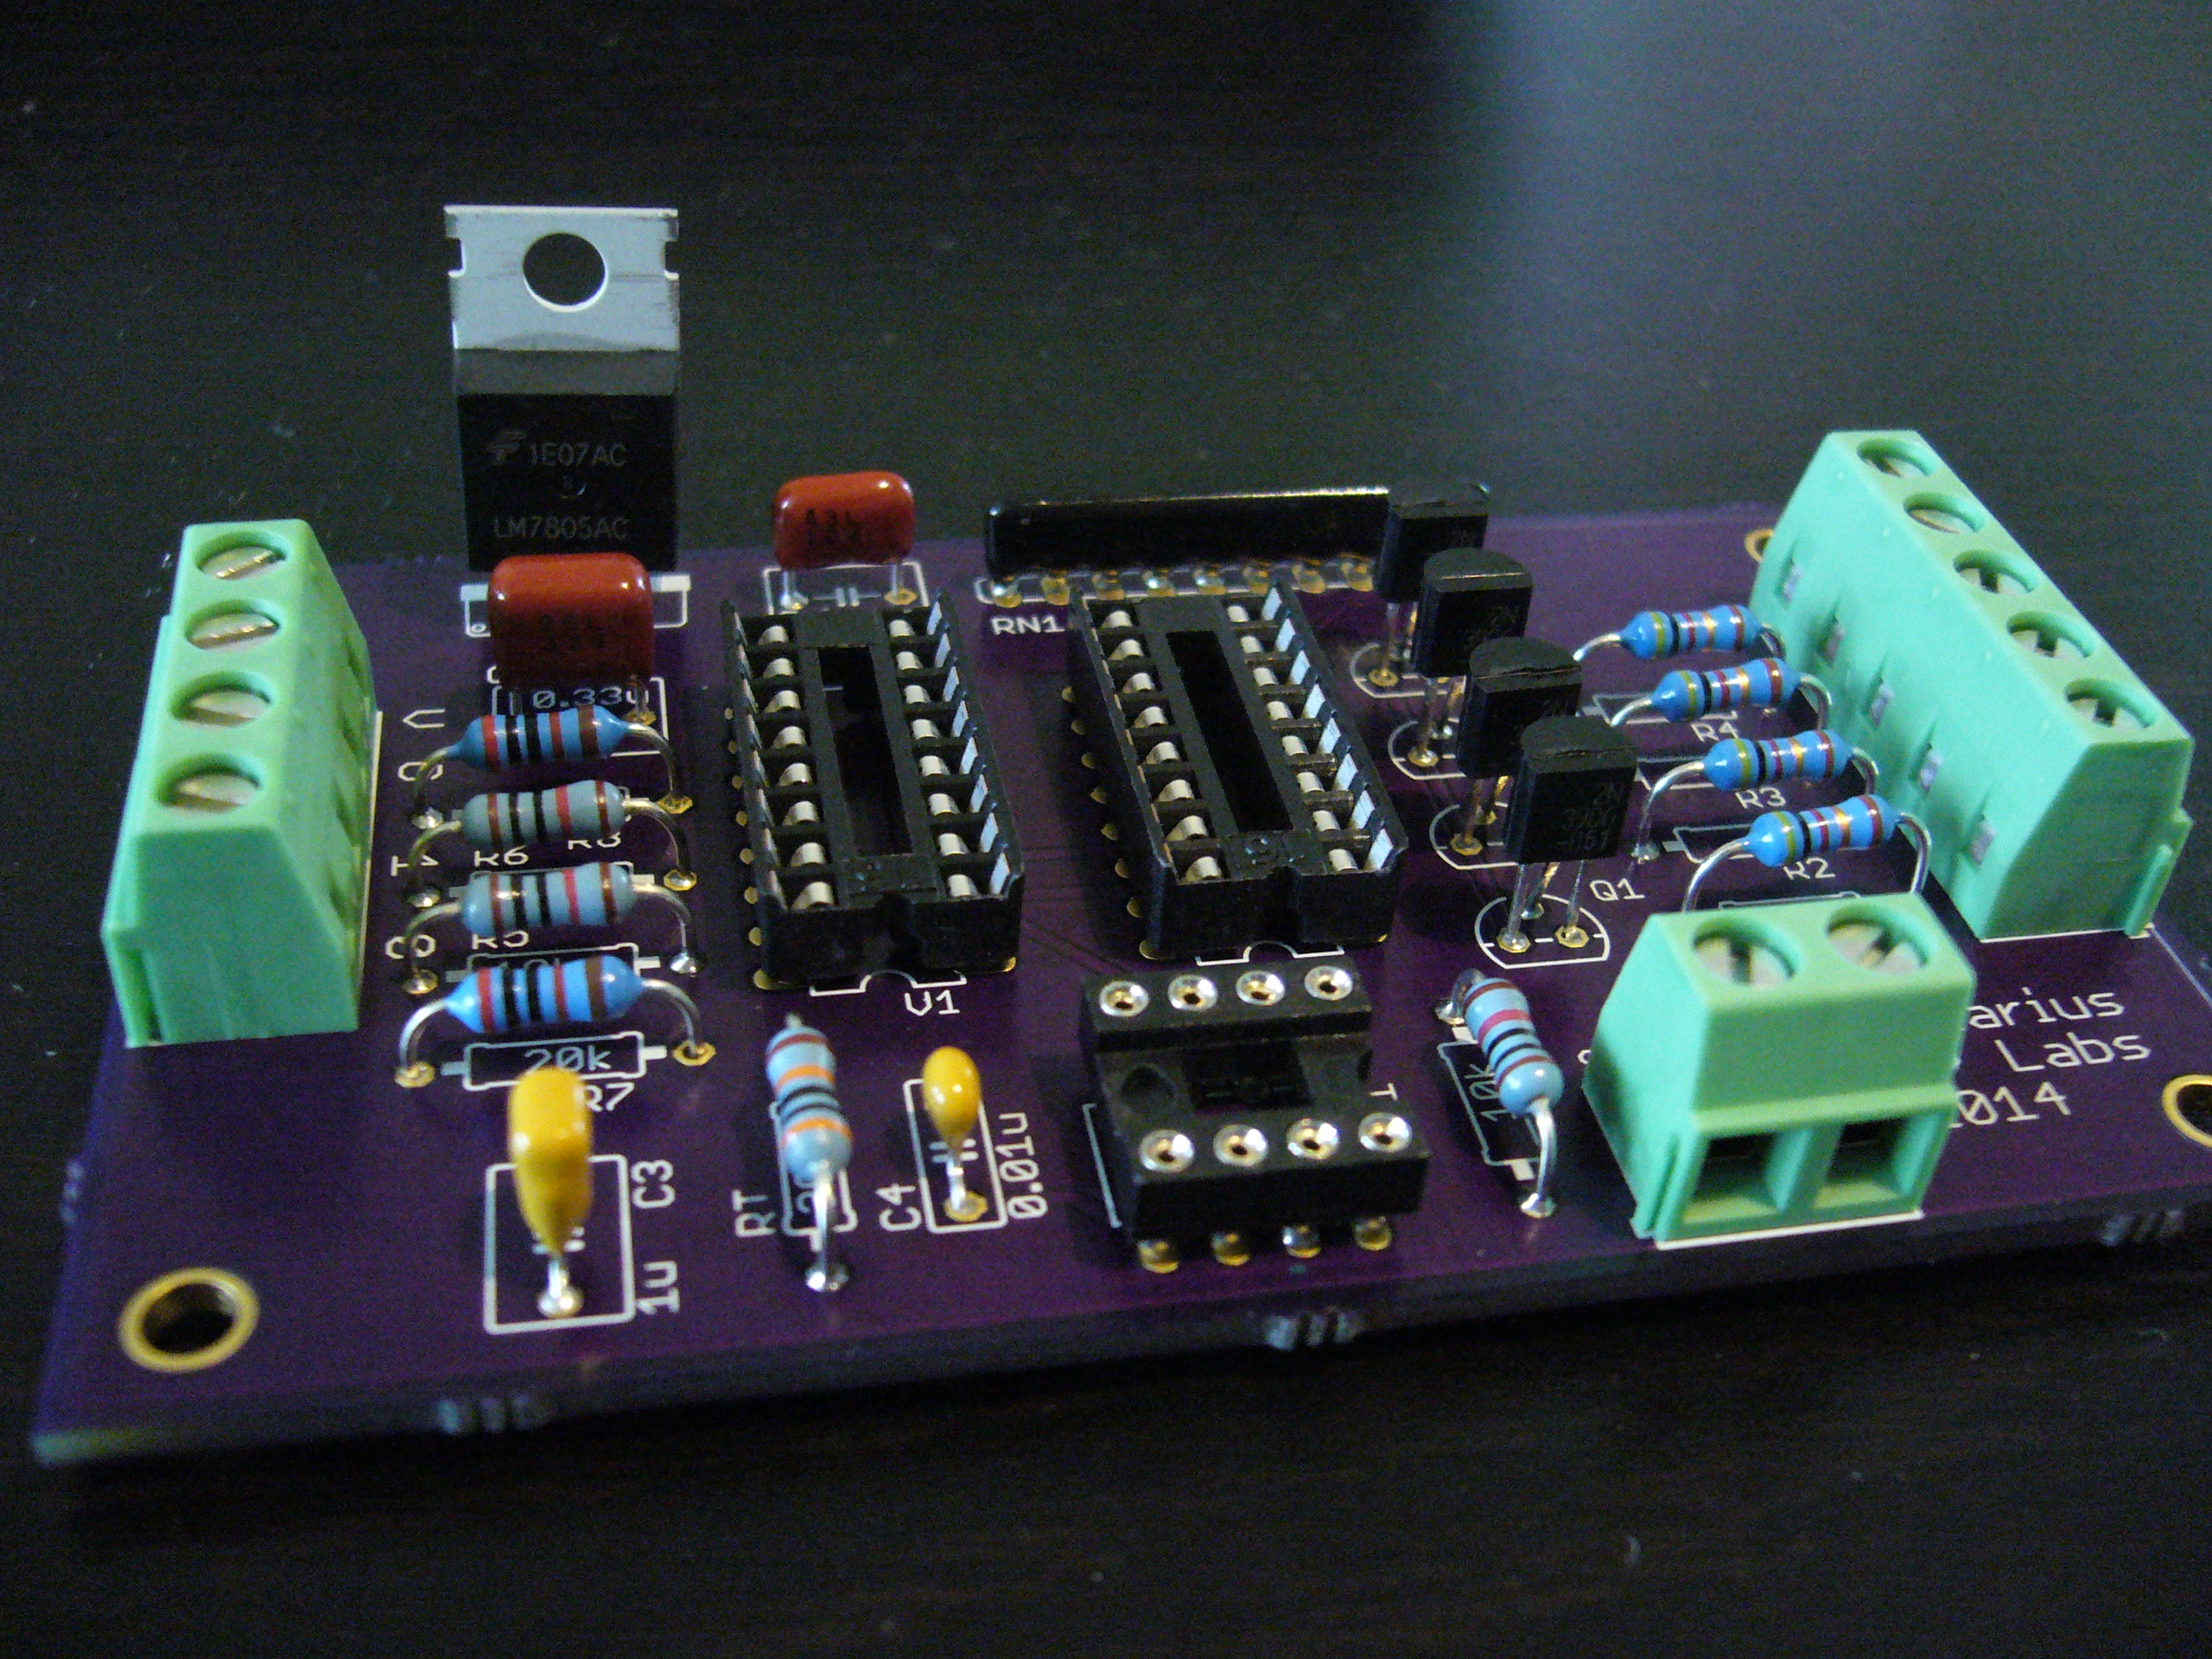
There isn’t much else to say. Assembly was simple because I had chosen to use all through-hole parts. I do prefer to use sockets on all integrated circuits in the event that they fail. Cleanup was simply scrubbing with a toothbrush and some 95% isopropyl alcohol, and letting the board dry.
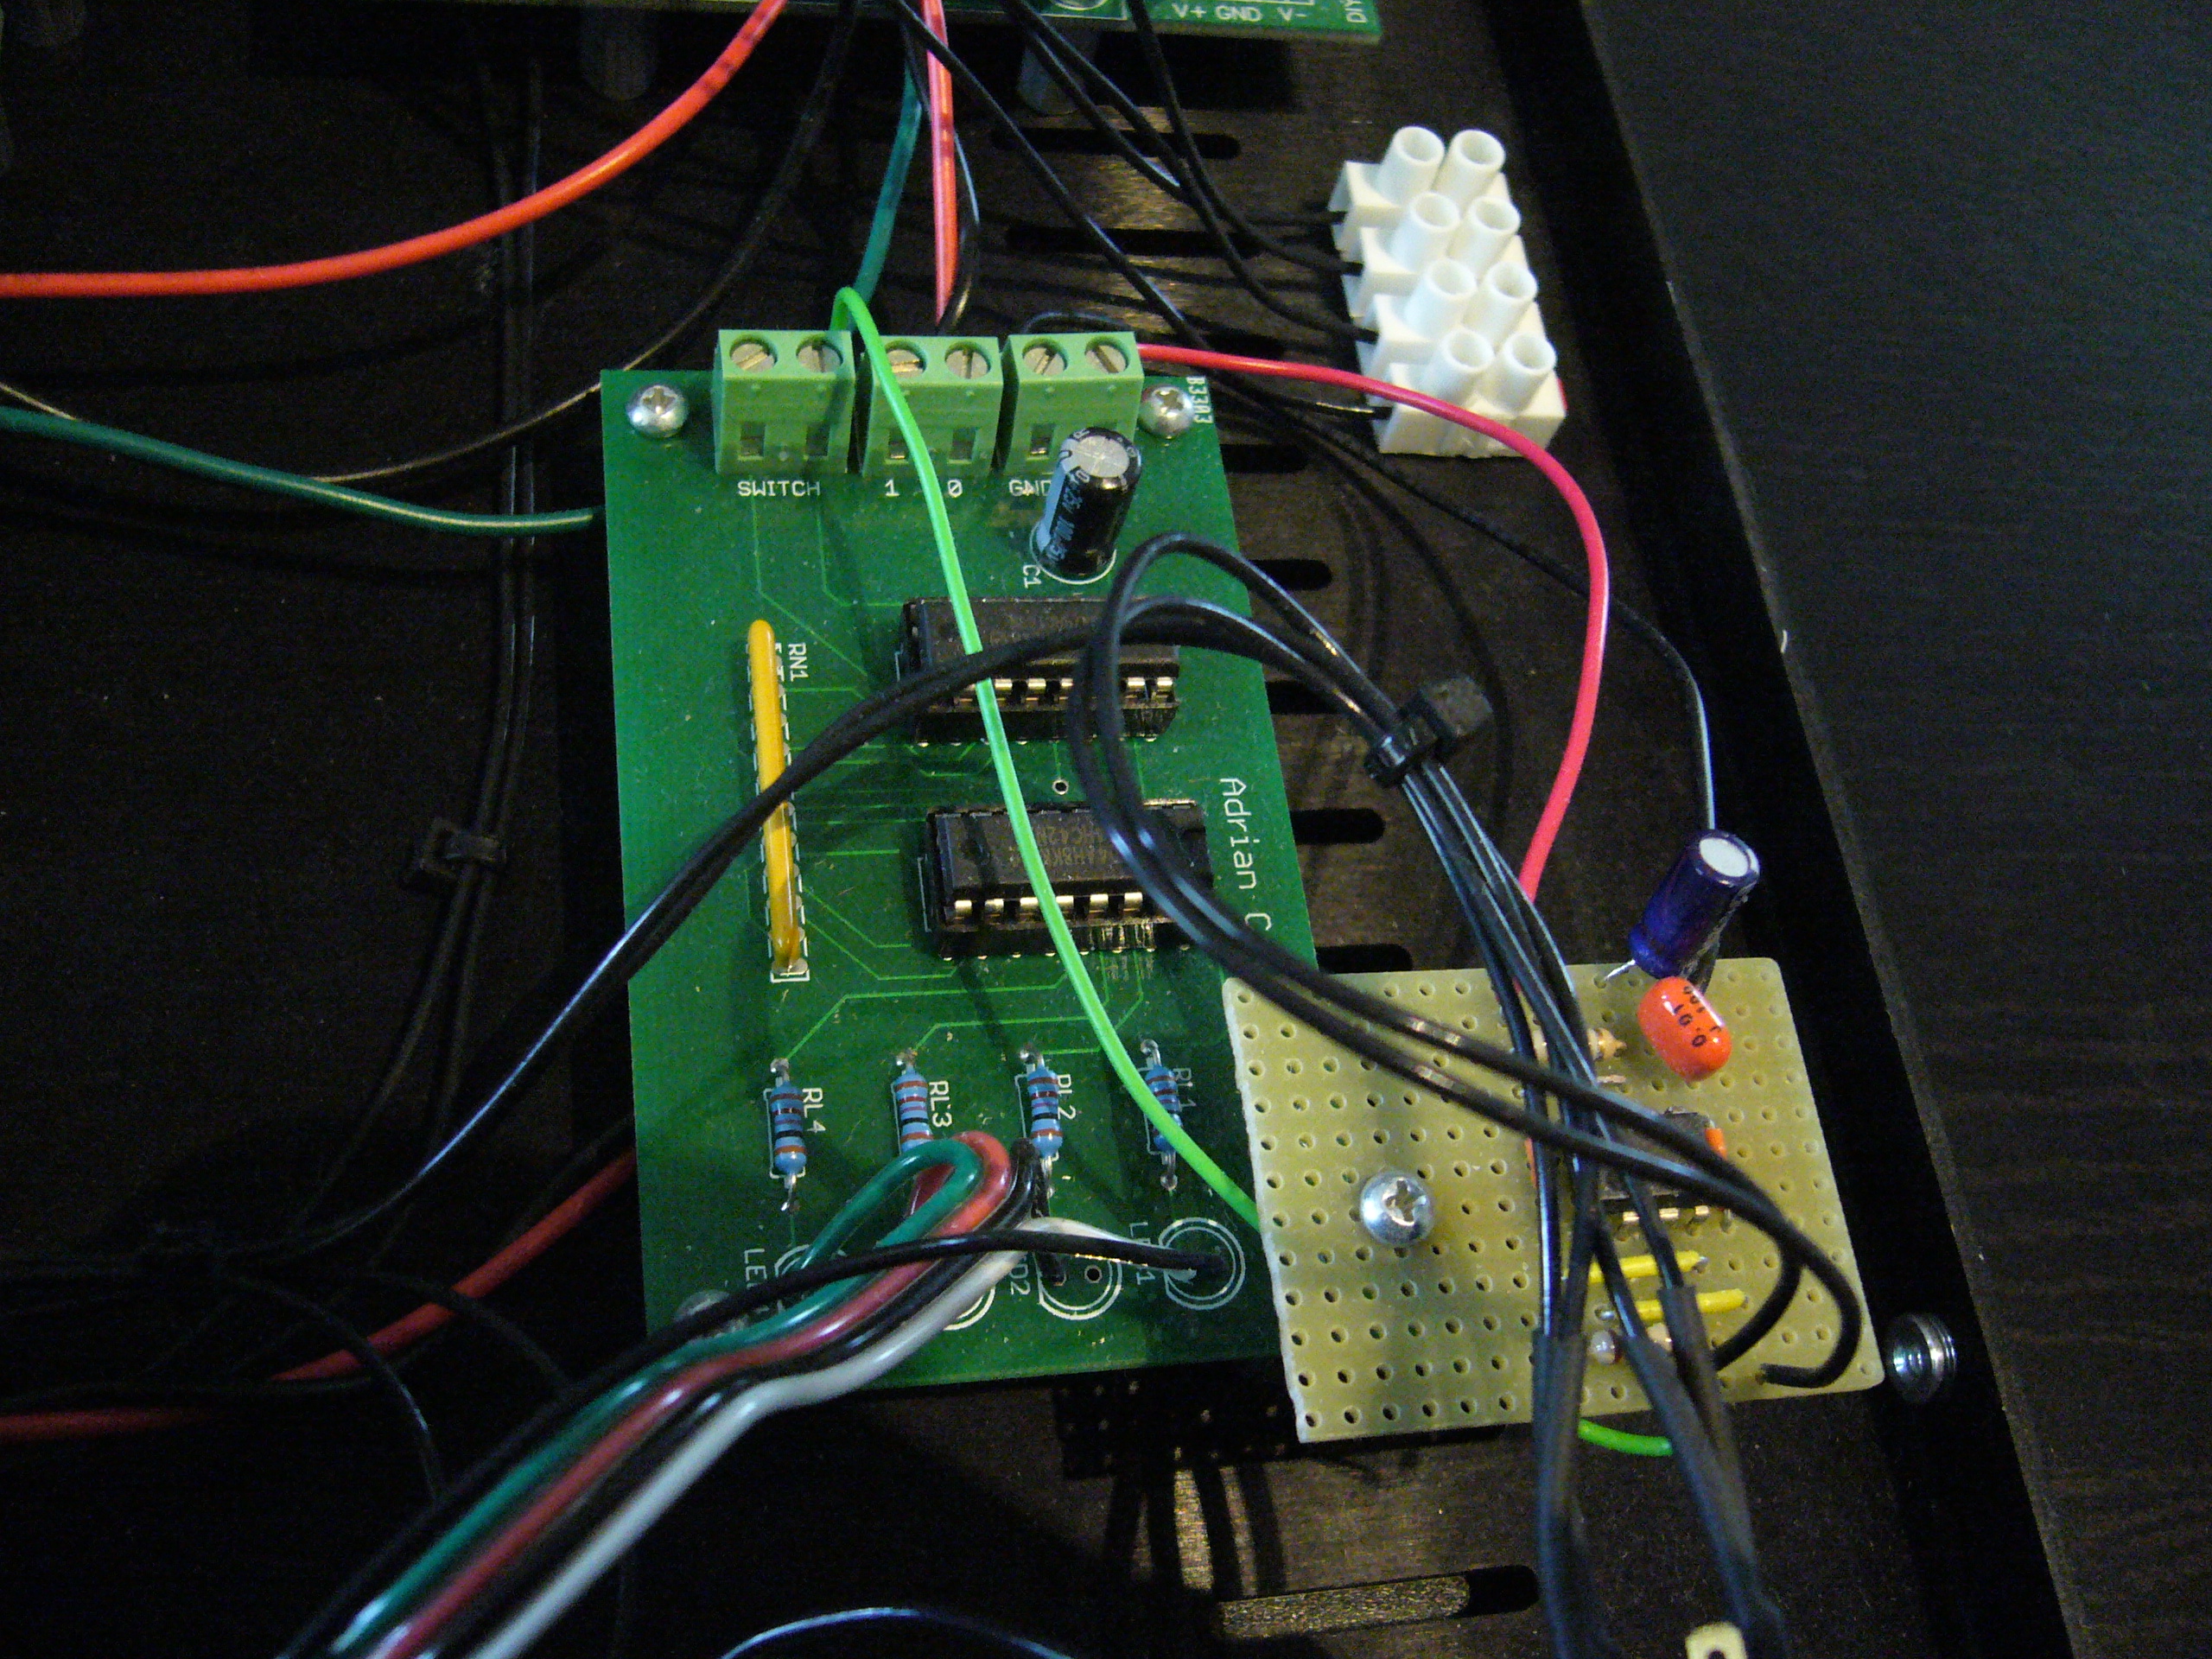
Once assembly was complete, I pulled the DAC box down from its shelf and opened it back up. I removed my fudged-up previous attempt at the circuit and popped in Version 2. I had made sure that the bolt patterns were the same so it was extremely easy.
While the DAC was open, I took the chance to replace the indicator LEDs with new ones that matched the color of the switch LEDs better.
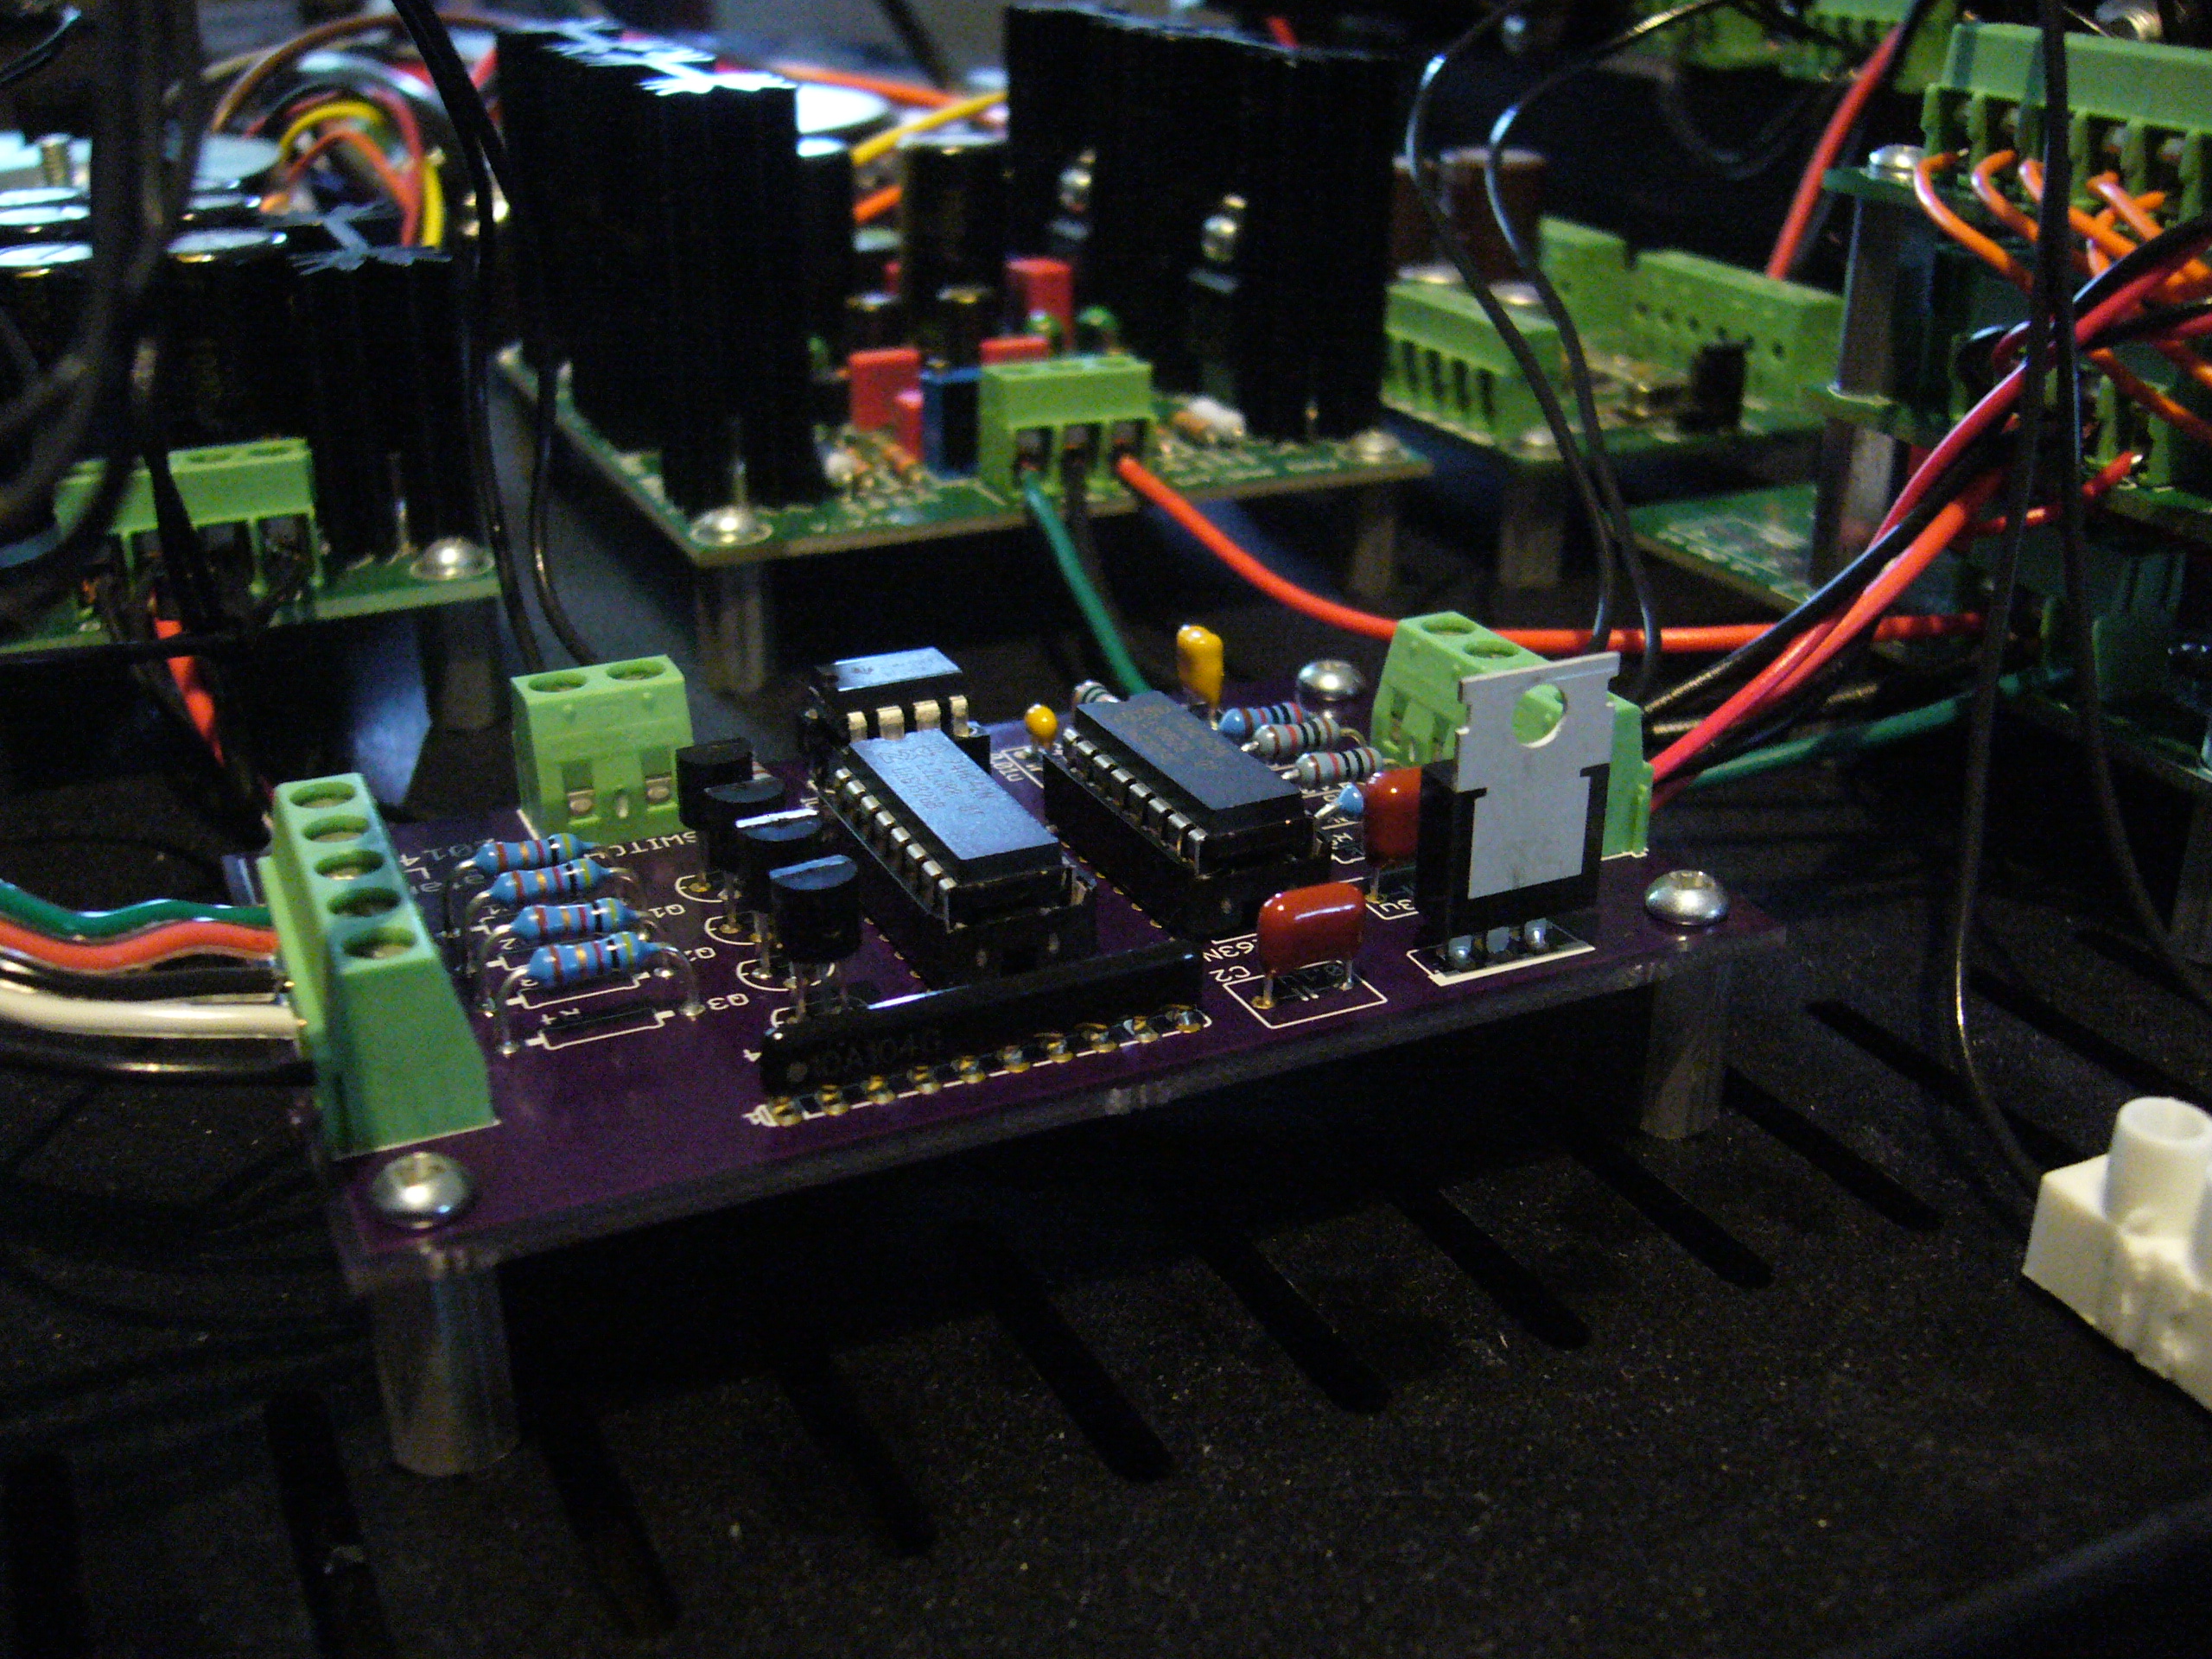
When it was all said and done, the new controller works flawlessly. I have yet to see it trip once on any fluctuations on the power lines. The signal lines are the right voltages to properly switch the MUX. All in all, a superbly executed project. I am deciding between two different projects for my next write up. Once I decide, I should have something up soon.